How to Shave Different Facial Hair Styles
From mustaches, to goatees, to different beard types, here is a simple guide on how to properly shape, trim, and shave the various facial hair styles.

So, you’ve decided on a particular style of facial hair. Considering there are infinite options out there—and not just the one you are able to grow from scratch, without any notion for shape and style—well, you are owed congratulations for picking your next facial hair style. But, how will you go about shaving and shaping this style? That requires a minor amount of research (often done by finding a celebrity or model with your similar face shape, who has the facial hair style in question).
And if you’re unsure yet of what will flatter you most, we recommend assessing the shape of your face, and understanding what will complement the geometry, along with what you can realistically grow (given your whisker proliferation, or general lack thereof). This is most pertinent when it comes to growing beards. The general rule of thumb is that oval shapes can wear just about every kind of beard style, while round and square shapes should try to achieve more length, and oblong or rectangle shapes should try to grow more outward. Diamond and triangular shapes can aim for a squared-off look. Anything to soften harsh angles and create as much symmetry as possible is usually what looks best on every guy. But there are always exceptions!

As for mustaches, goatees, and shorter beards, it’s really a matter of trial and error to see what looks good on you, especially since it comes down to personality—and whether or not a particular mustache or goatee suits your personality.
Hopefully with the following guideposts, you’ll be able to wear the best version of each style, even if it’s not the most flattering look for your handsome face.
Beards

Beard neckline: While every beard requires different means for trimming, angling, and styling, one universal thing is where to draw the beard neckline. You want to imagine a “U” shape connecting the backs of both ears, and meeting at a point just above your Adam’s apple. Use two fingers, placed above the apple, to determine this spot. Shave everything below this U, including behind it on the backsides of the jaw. You can use a trimmer on the lowest, unguarded setting, or your bladed razor blade of choice.
Faded neckline: If you want to fade the beard neckline, or even the cheek lines, then use a guard length half that of your beard length, and trim a half centimeter into the hair. You can even increase the length to a ¾ and trim inwards a full centimeter, then cut the length in half to trim the outermost half centimeter. Essentially, you want to create a steady grade (and one that is naked-to-the-roving-eye). Once your beard gets longer than, say, a half inch or more, then you might want to focus on clean lines only, since the fade won’t be noticeable (Or, if you try to make it noticeable, it will be too long and gradual to look flattering).
Square beards: If you have an especially round face, or a “weak” jaw structure (for lack of better term), then the most flattering beard on you will have defined, straight edges, and won’t round until further down the bottom of the beard. This will help elongate the face. You want to keep the sides of the face trimmed short, so that you don’t build volume at the top of your beard, and allow it to grow down, accumulating volume as it does. Every time you trim, use a beard pick to detangle the beard, then use a comb to coach it into place. Snip at any long, stray hairs, and use beard balm to keep the squared-off shape.
Angled beards: The rules of cheek-hair maintenance are the same here as they are for square beards. Keep whiskers light on the cheeks, and emphasize the bulk at the bottom of the face. This is optimal for narrow face structures. You’ll need to eyeball a diamond-shaped angle into the bottom sides of your beard; basically, you’re going to carve a “V” into the bottom of it, from some uniform point on both sides below each jaw bone. While this should be slow and steady, the most importance advice we have is to pick out the beard after you finish trimming, and then trim away any particularly long hairs before coaching it back into place and re-trimming the same V shape. With balm, finish off the style to hold it in place and prevent strays.
Clean up cheeklines: If you grow a long beard, then eventually the neckline becomes a non issue. It disappears behind that nest. But you must always maintain clean cheek lines. (That is, the borders of your facial hair that creep into or over the cheeks.) Don’t let sparse cheek hairs deter you from growing a full beard, either. There are plenty of men who have low cheek lines but big, full beards (or even short, full beards). The best thing you can do, though, is embrace the sparseness and clean up any patches that are still there. That’s what helps give you a distinct, intentional style, instead of implying that you’ve just let it all grow out without any say in the matter.
Style/shape tips to consider: If you want to play with different beard styles, you can play with different volumes under the chin, or consider snipping the “bridge” between the mustache and the chin, or even breaking the space between the sideburns and starting the beard underneath the ears. Try growing a fuller mustache but a shorter beard, or even vice versa—or attempt any of the mustache styles below paired with your beard at any length. You have so many options available to you, and sometimes the only way to know what works is to try everything once. The worst that can happen is you trim it all down and start over again. For shorter styles, that’s not such a risk, either. It’ll all be back within a month!
Mustaches

Bigger ‘staches need sculpting: If you want to rock something prominent like a walrus or a big handlebar mustache, then get yourself some mustache wax and a mustache comb. Even an unruly walrus mustache can benefit from some direction and control, so that it doesn’t sprout outwards; the idea is that it covers the lip like a curtain, so make sure of it. As for handlebars, they need to have movement and high hold, so that wax and comb are imperative for the styling. You can use a pen, your pinky finger, or toothbrush base to achieve the curl at the ends of the handlebar.
Lose the sideburns: if you have a standalone sideburn, then shave your sideburns—unless “porn star” is what you want to achieve.
Try snipping into the philtrum: One way to give your mustache shape and style is to create a natural “part” down the center, not unlike the one that most of us have atop our heads. You’ll need a couple weeks’ worth of growth to do this, though. If you have an even longer ‘stache yet, then it might part with a comb and a little twizzle wax. But, if it’s short, then try trimming a tiny triangle into the philtrum (that divet between the base of the nose and the top center part of your lip). Just a teensy, tiny triangle (drawn with a detail trimmer or a careful, steady hand with a safety or straight razor) gives the base of your mustache the appearance of direction—one side flows to the right of the teensy triangle, and the other side flows the opposite direction. You can conversely try this with an upside-down triangle at the top of the mustache, but try it at the base first, which tends to look a little more natural. Even if it’s just a couple weeks long, the mustache should look like it’s “moving” to both sides, and can even benefit from a little bit of wax to help cement this impression.
Goatees

Width and chin depth: With goatees, the best rule of thumb is to keep whatever natural width you have at the sides of your mustache. Eyeball that strip of hair that connects your ‘stache to your beard (if you have it at all), and use that as your straight line downward. If you keep this all connected, then follow the line down underneath your chin. Round the jaw and create a small “U” to connect one side to the next. Use two fingers from the bottom point of your chin. The base of this “U” will meet at the base of these two fingers. If you lack the sharp jaw features and have a cascading neck, then just stick with a simple, symmetrical shape (try to match the base of your goatee to the same curvature as the mustache above the lip).
Broken goatee: If you want to trim this bridge between the mustache and beard (or if you lack it altogether), then you can more or less follow the above advice to achieve a totally different look. If you have defined facial structure, though, then let the underside of your chin fill in a little bit more, and even fan out a bit to the sides. (Maybe a half centimeter wider than the mustache on either side.) Draw a wider “U” under the chin using the same two-finger method above from the sides of this base. You can keep the chin fuzz as filled in or sparse as you like. This goatee style emphasizes the breakage between the mustache by offsetting the weight, and giving a fuller base—almost like the goatee version of a VanDyke beard. (Of course, you can also shave a shorter base if you want to play with contrats in the opposite direction. Again, that breakage and separation from the mustache allows for you to toy with different weights, lengths, and fullness around the chin. Ultimately, there are no rules!)
Shop the collection

Beginners
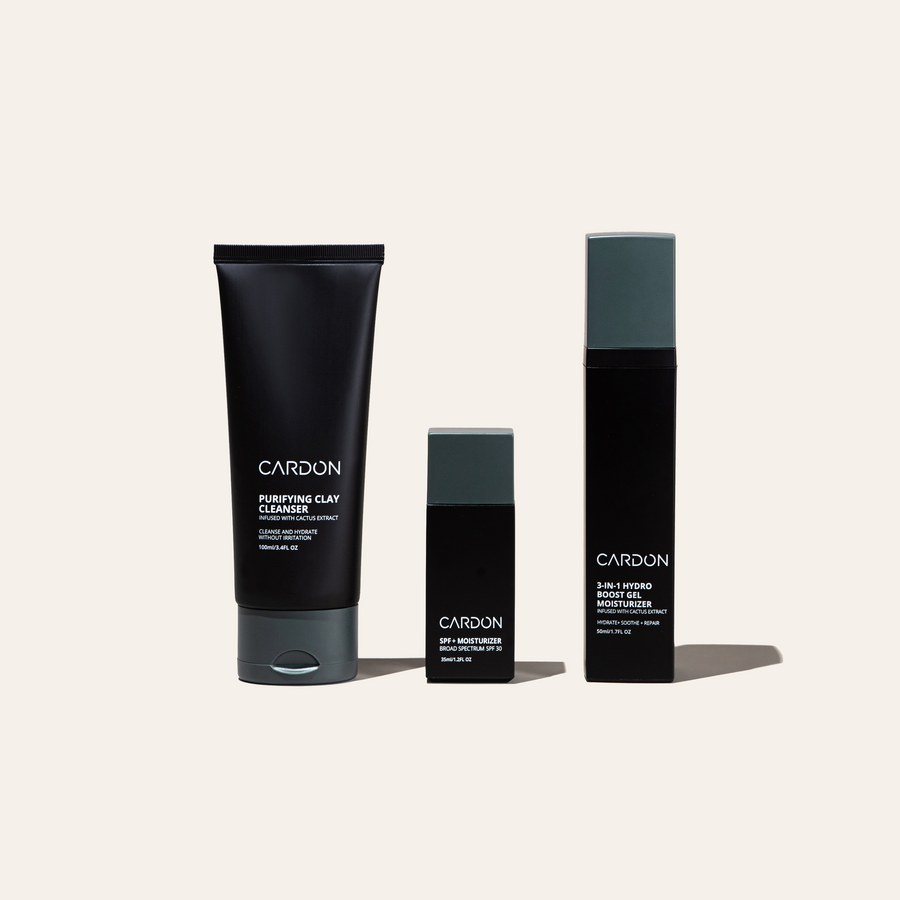
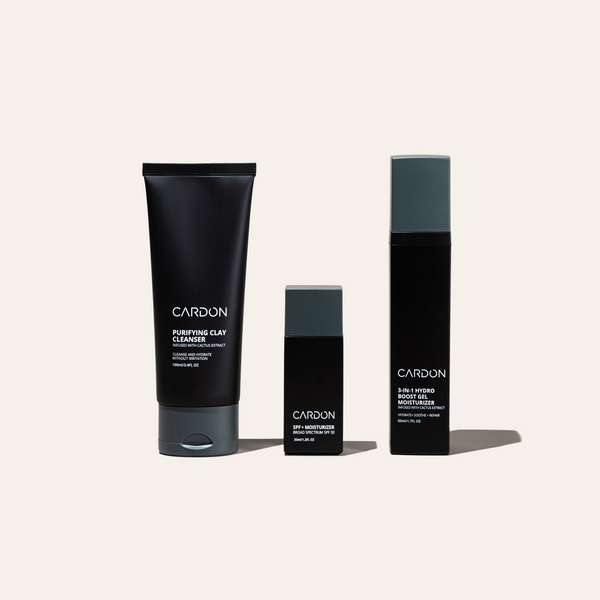
Essentials Skincare Set
good for:
Everything you need, nothing you don’t—the Essentials Set is your skincare starter pack. Just cleanse, moisturize, and protect. We took the guesswork out of developing a skincare routine. This is all you need for everyday skin health.
Includes Steps:
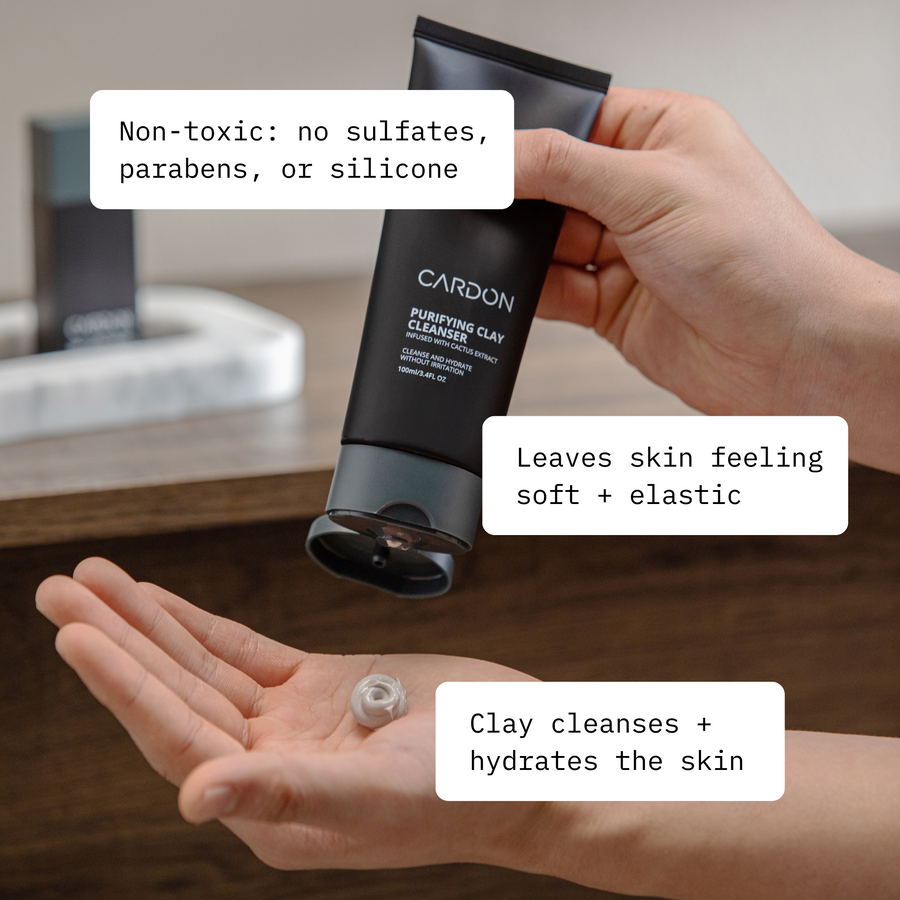
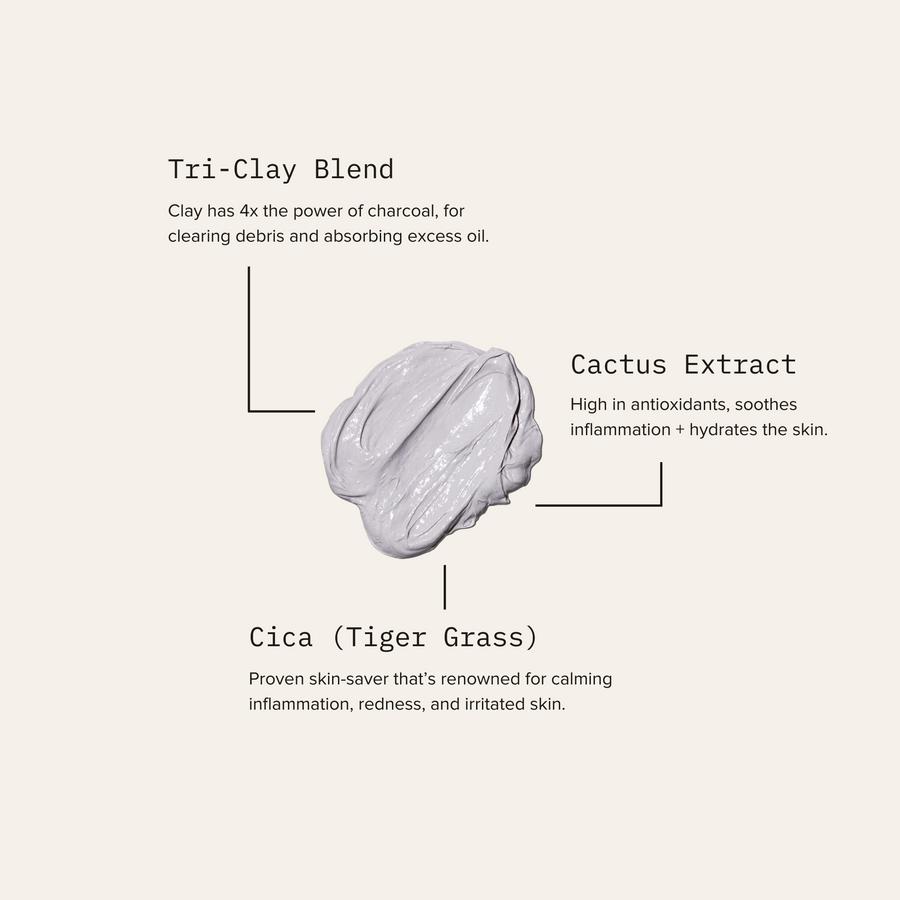
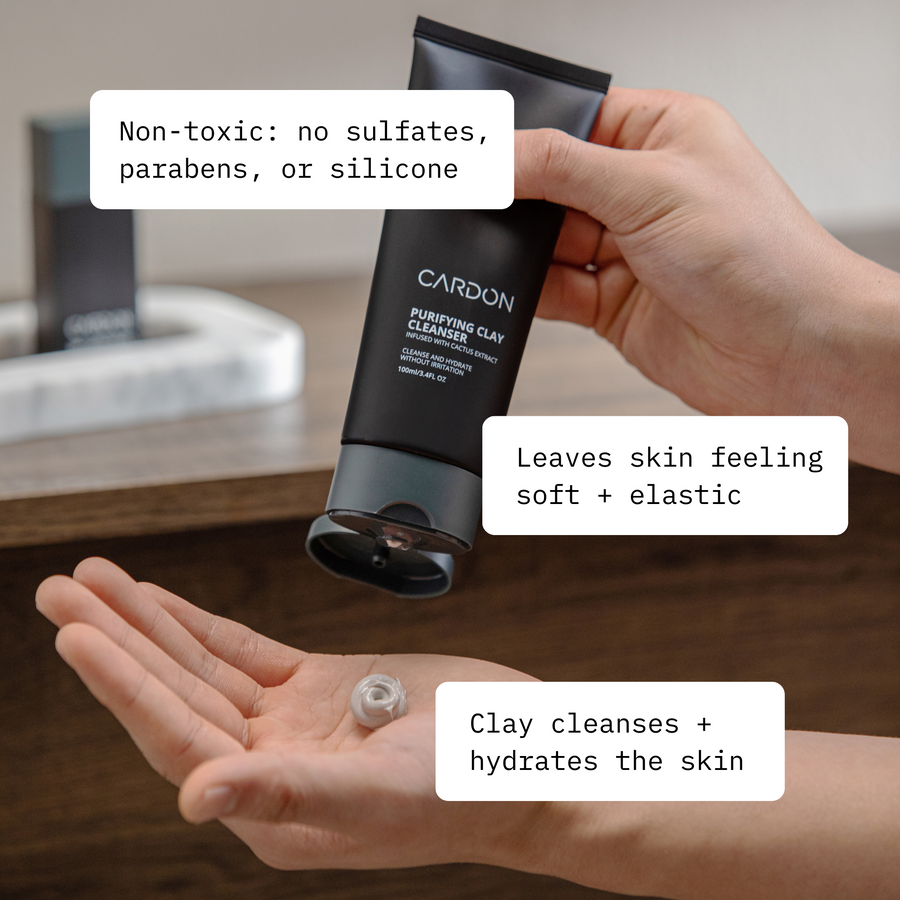
- 01 Purifying Clay Cleanser
- 02 Daily SPF + Moisturizer
- 03 Hydro Boost Gel Moisturizer
Never go empty! Subscribe + Save 15%
Dry Skin Set
good for:
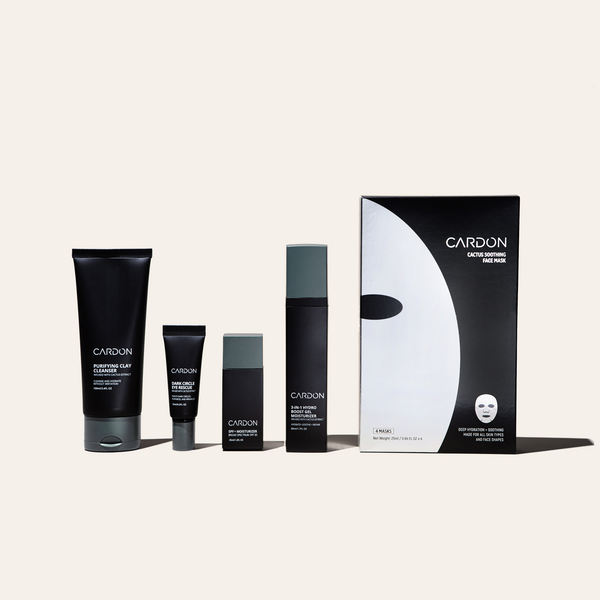
Skin feeling a bit thirsty? The Dry Skin Set was crafted specifically for those with a dry skin type.
If you deal with flakiness, dull complexion, visible fine lines, red patches, or any combination of the above, this set was made for you. This is all you need to hydrate your skin—and keep it hydrated.
Includes Steps:
- 01
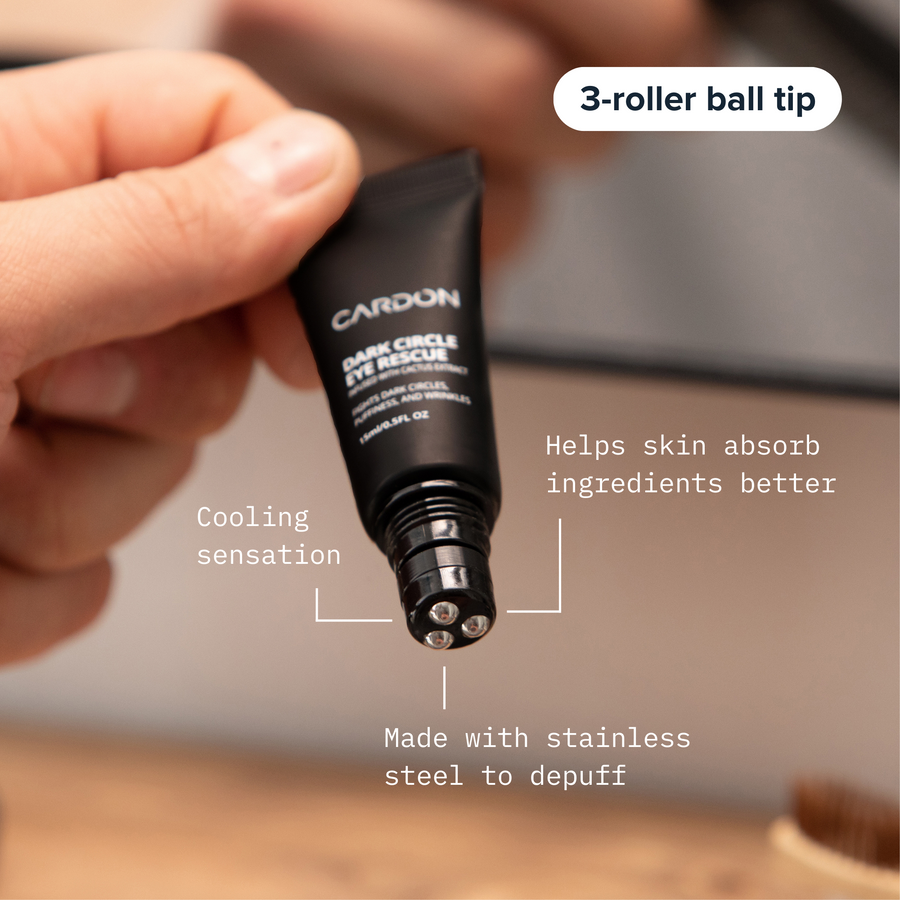
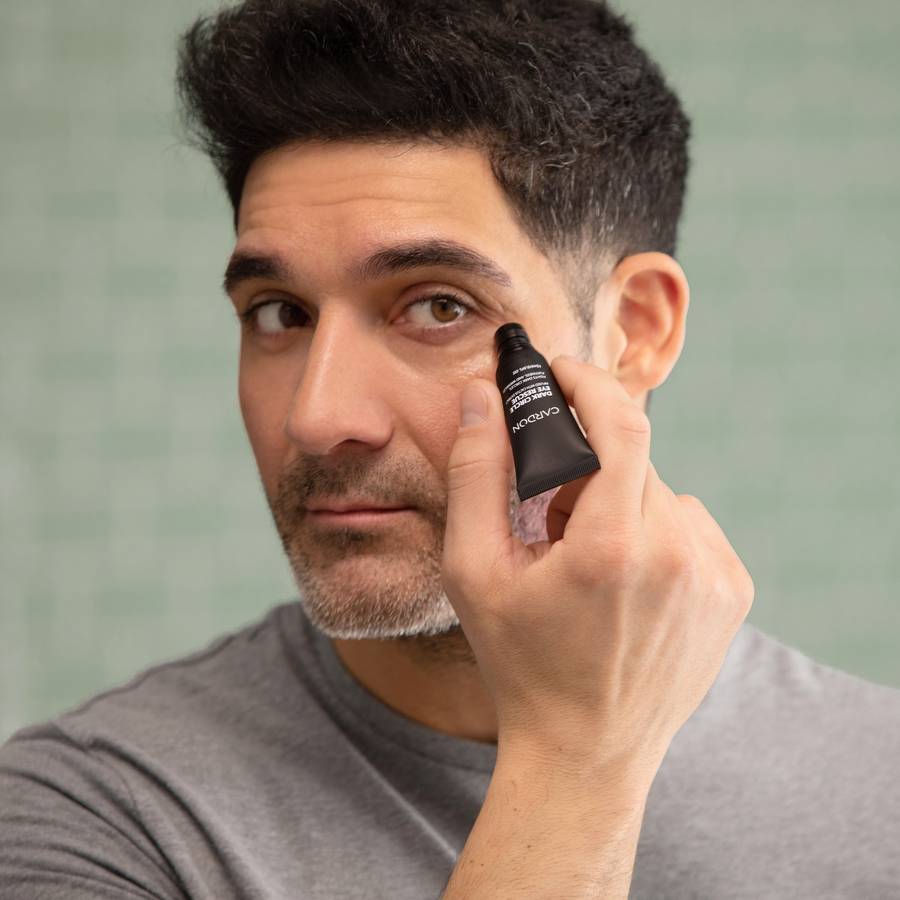
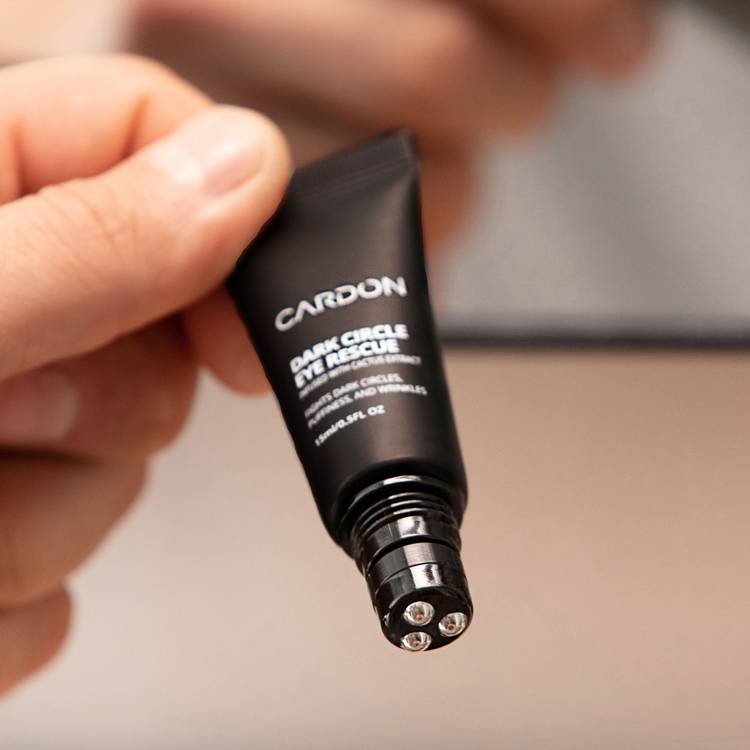
- 02 Dark Circle Eye Rescue
- 03 Daily SPF + Moisturizer
- 04 Hydro Boost Gel Moisturizer
- 05 Cactus Soothing Face Mask
Never go empty! Subscribe + Save 15%
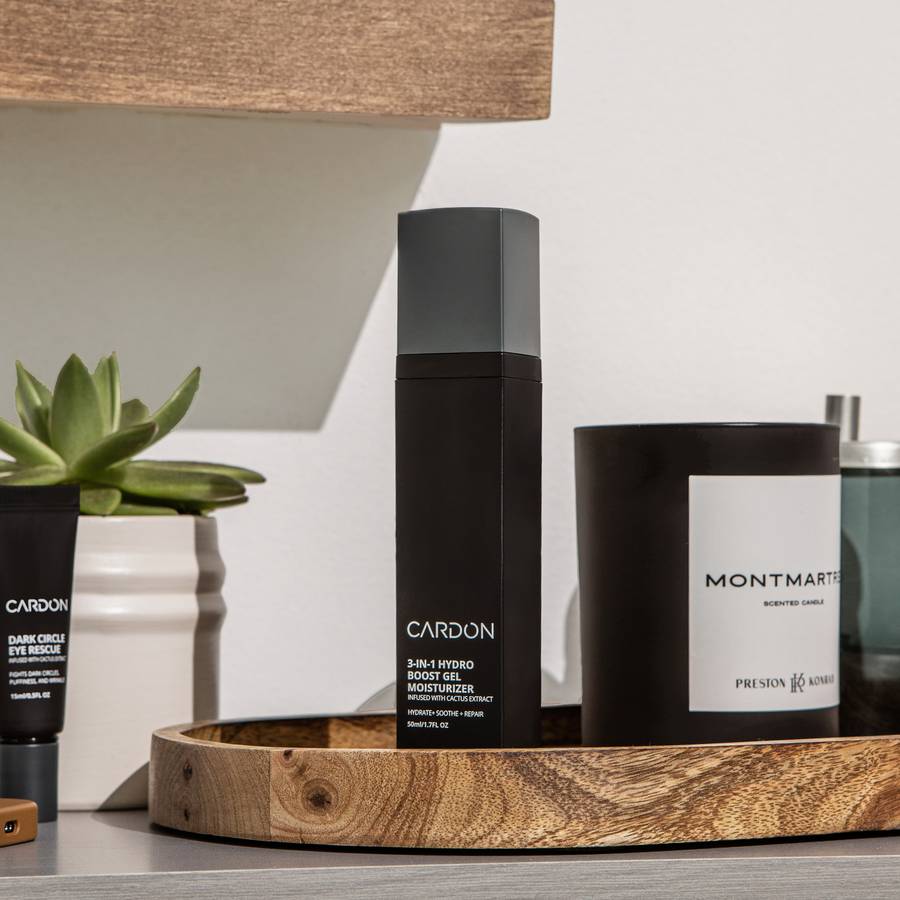
Hydro Boost Gel Moisturizer
good for:
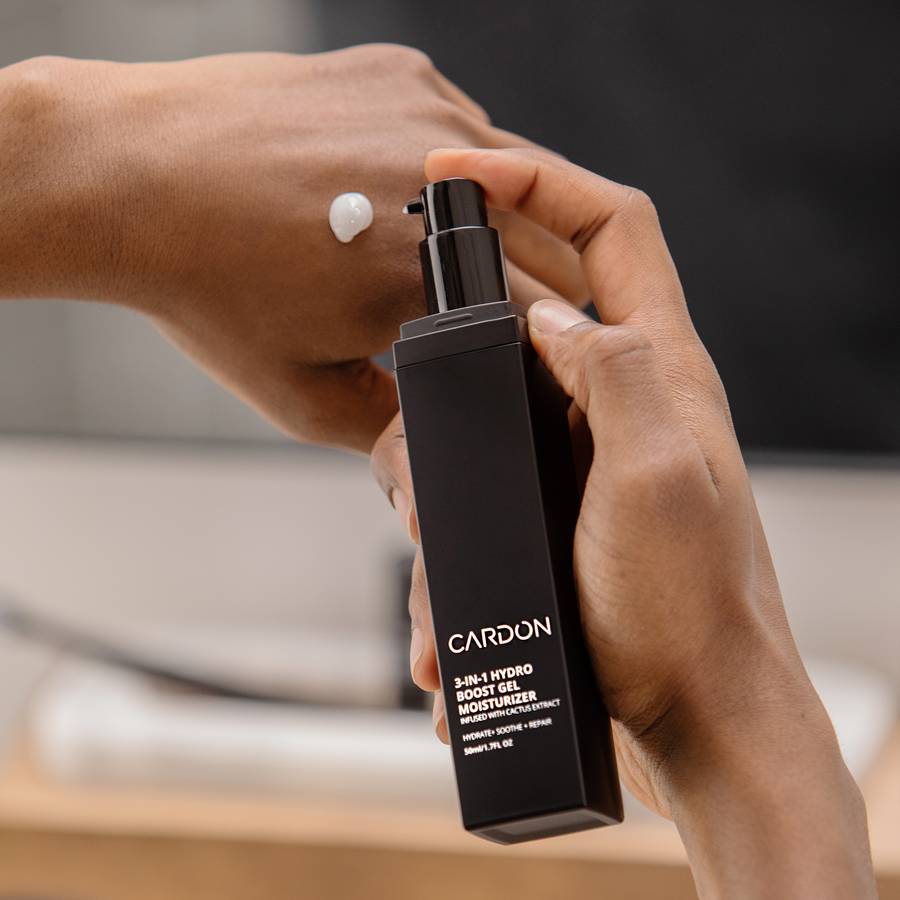
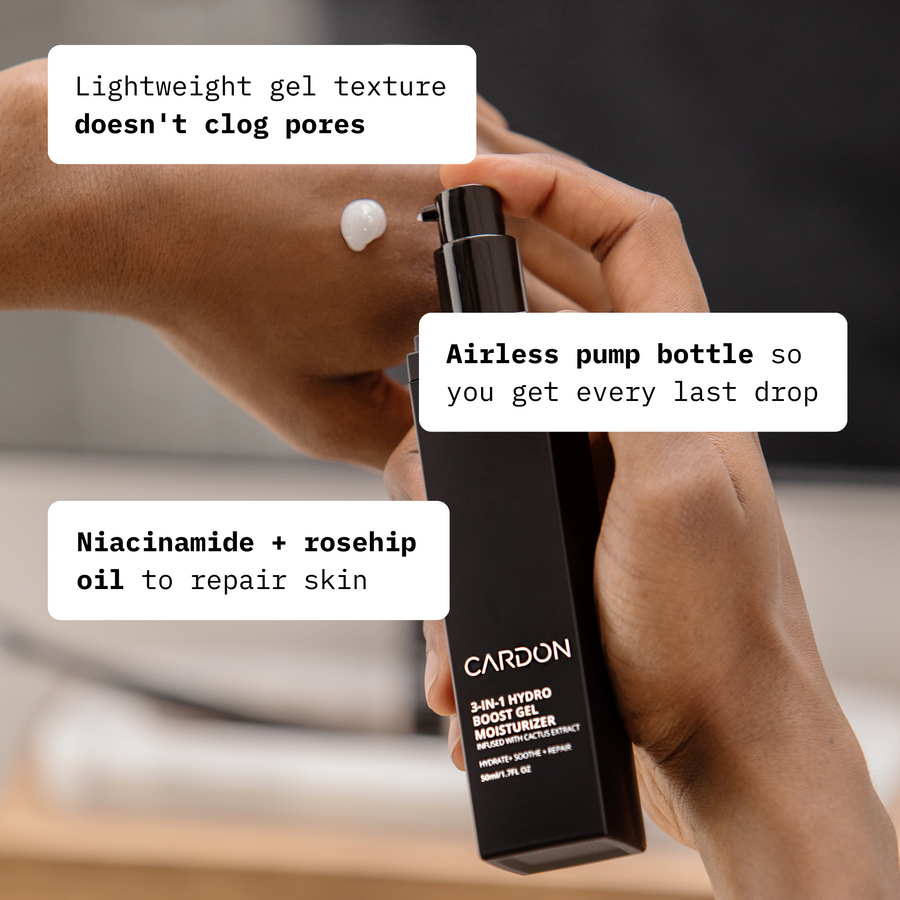
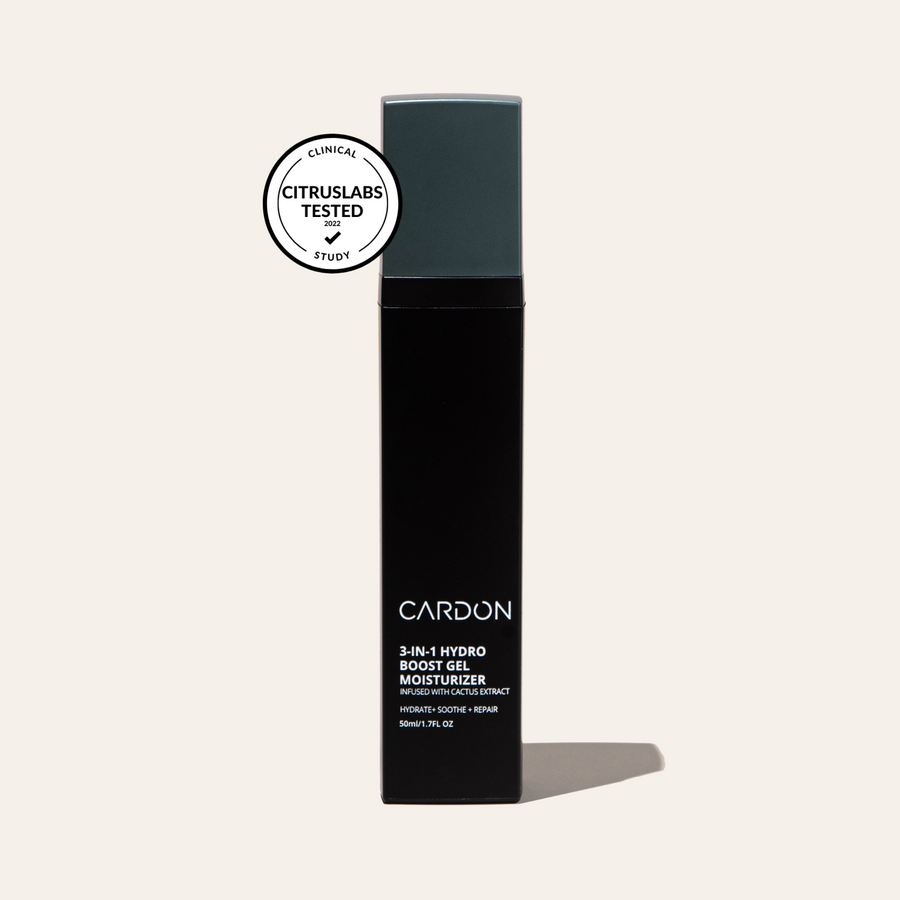
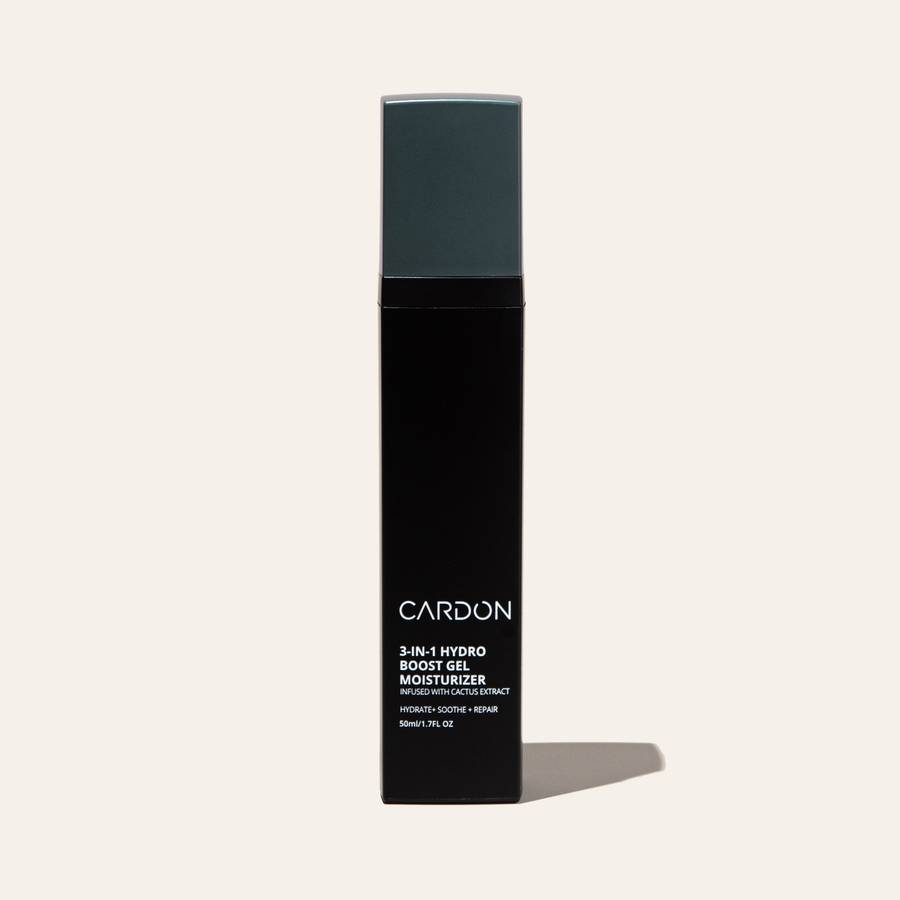
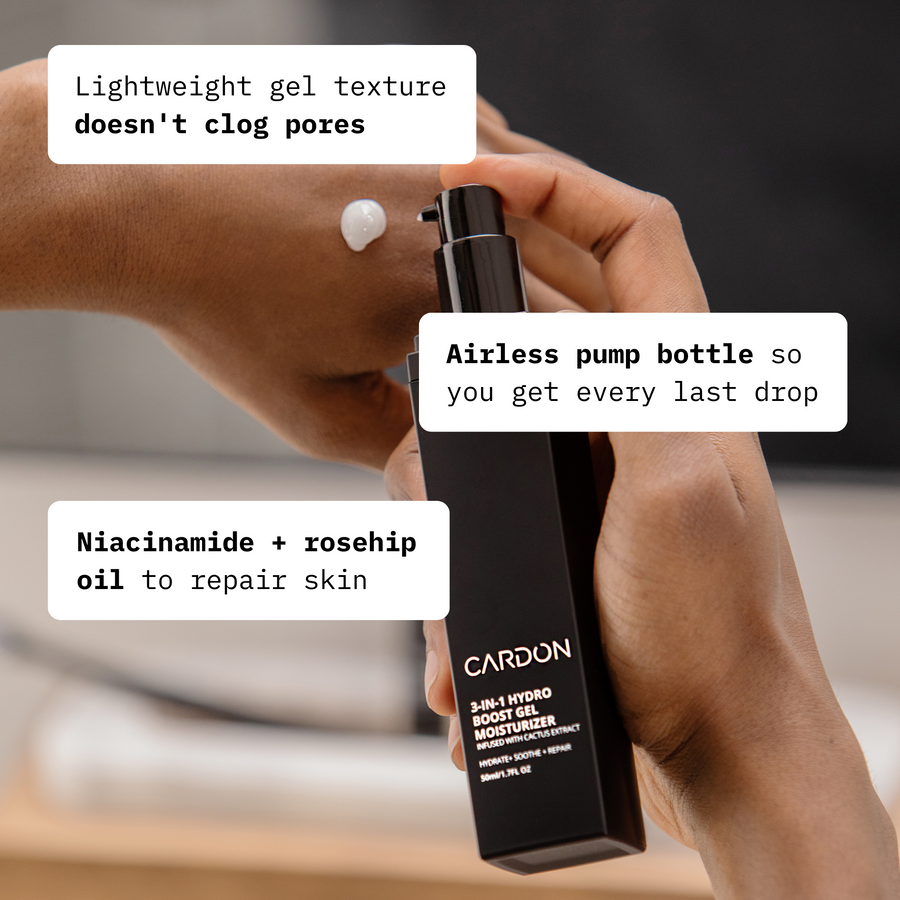
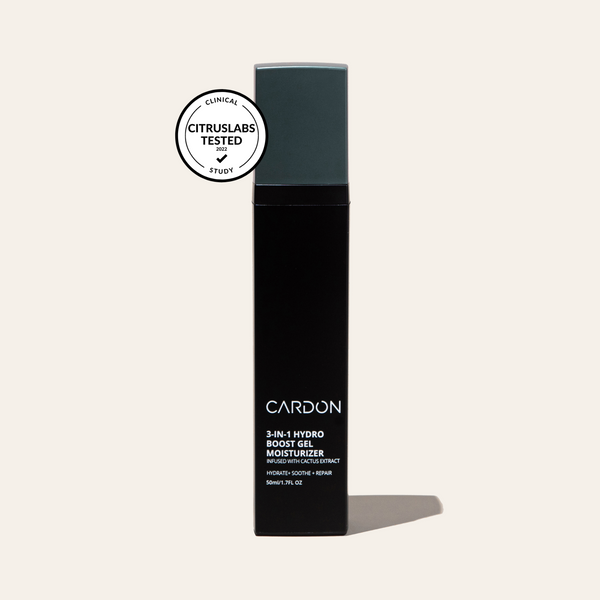
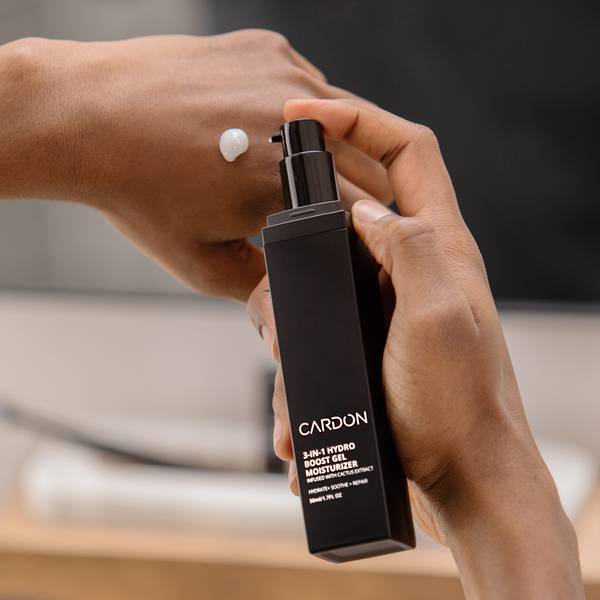
Like a night cap for your skin, our Hydro Boost Gel Moisturizer is the ideal way to finish your evening.
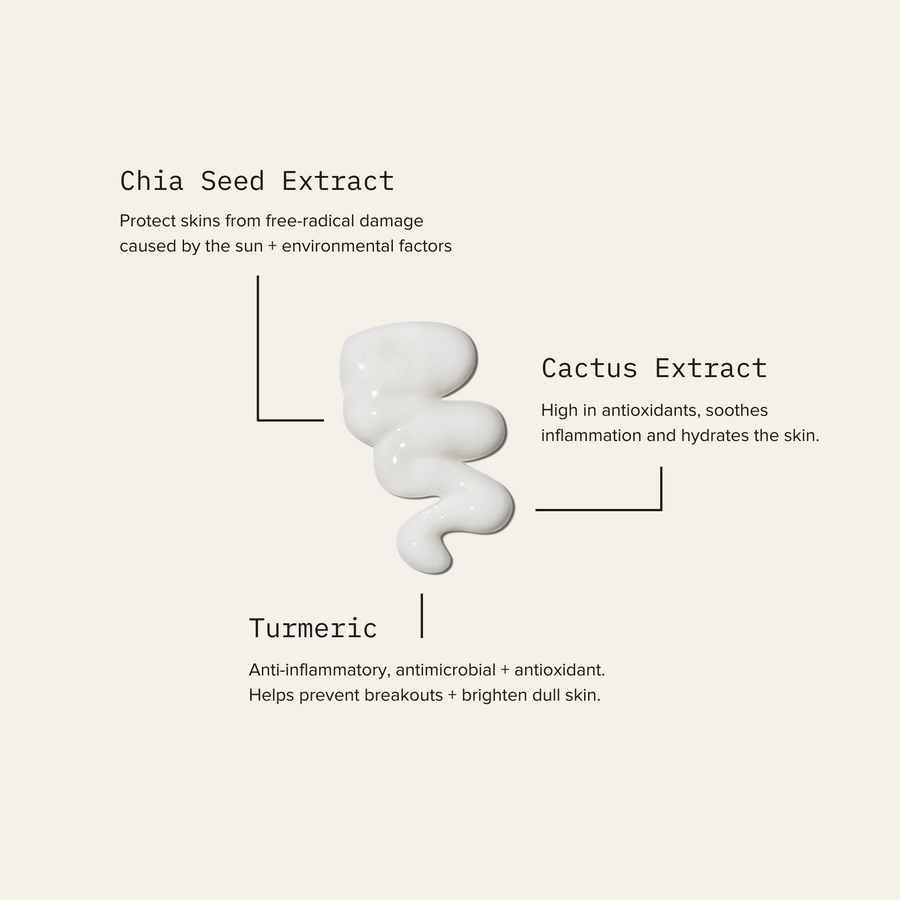
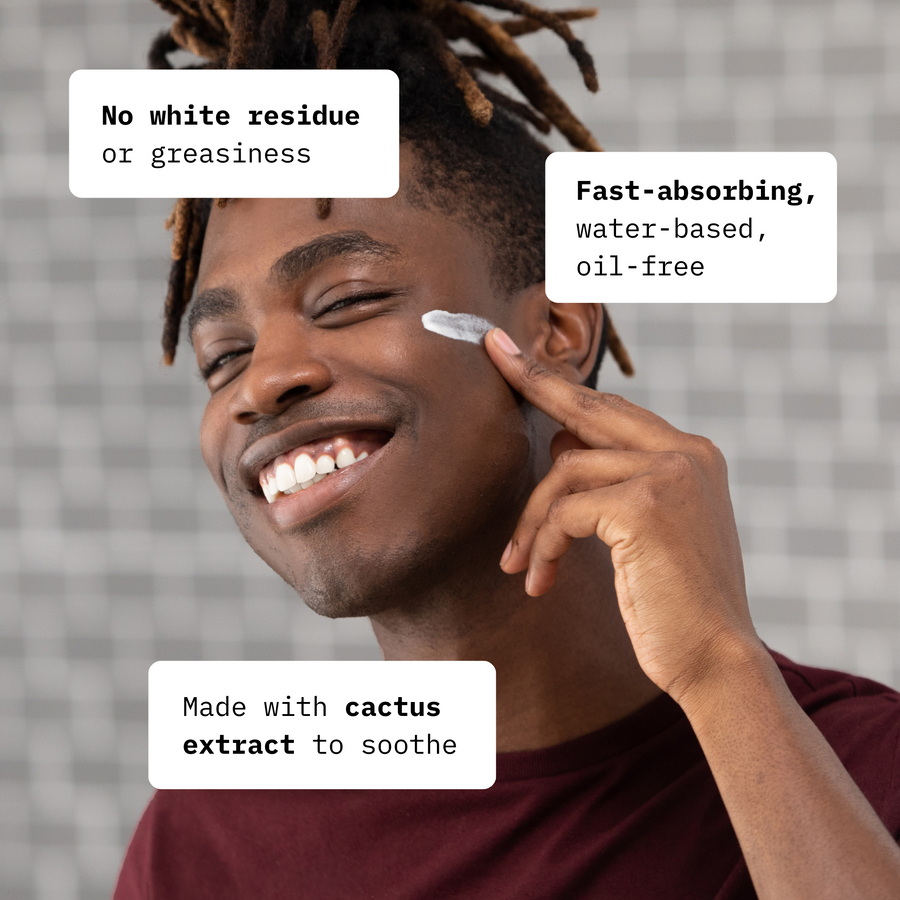
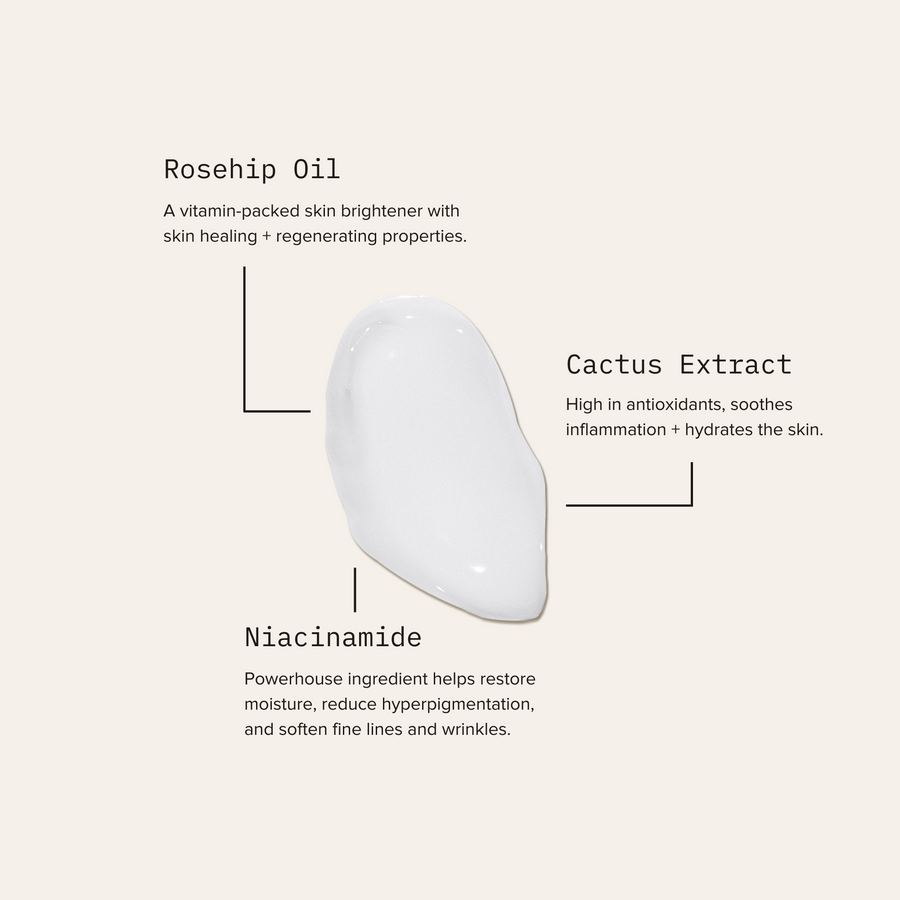
This 3-in-1 gel moisturizer uses Cactus Extract and Rosehip Oil to put in the work while you snooze—hydrating, soothing, and repairing your skin all night long.
“This easily became part of my nightly routine. I've started to notice my face looking healthier and smoother. As a 32 y/o, you start to notice wrinkles creeping in, this helps me keep them at bay.” - Andrew S.
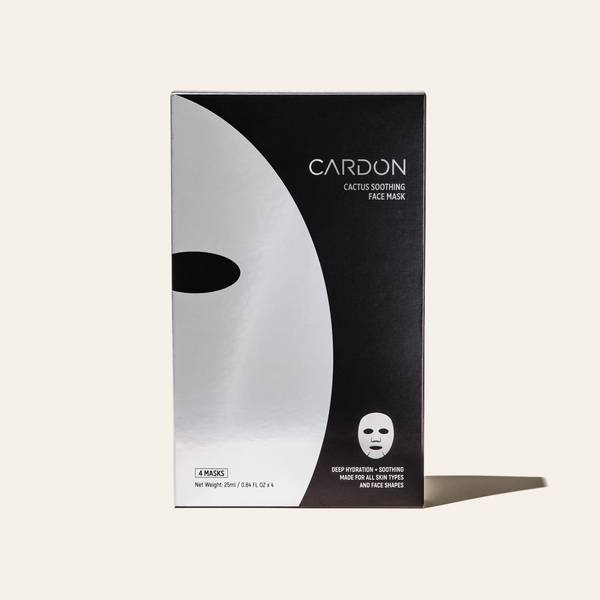
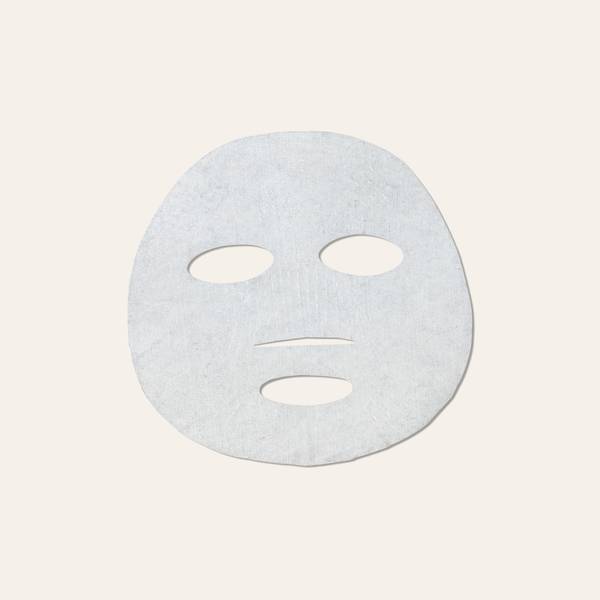
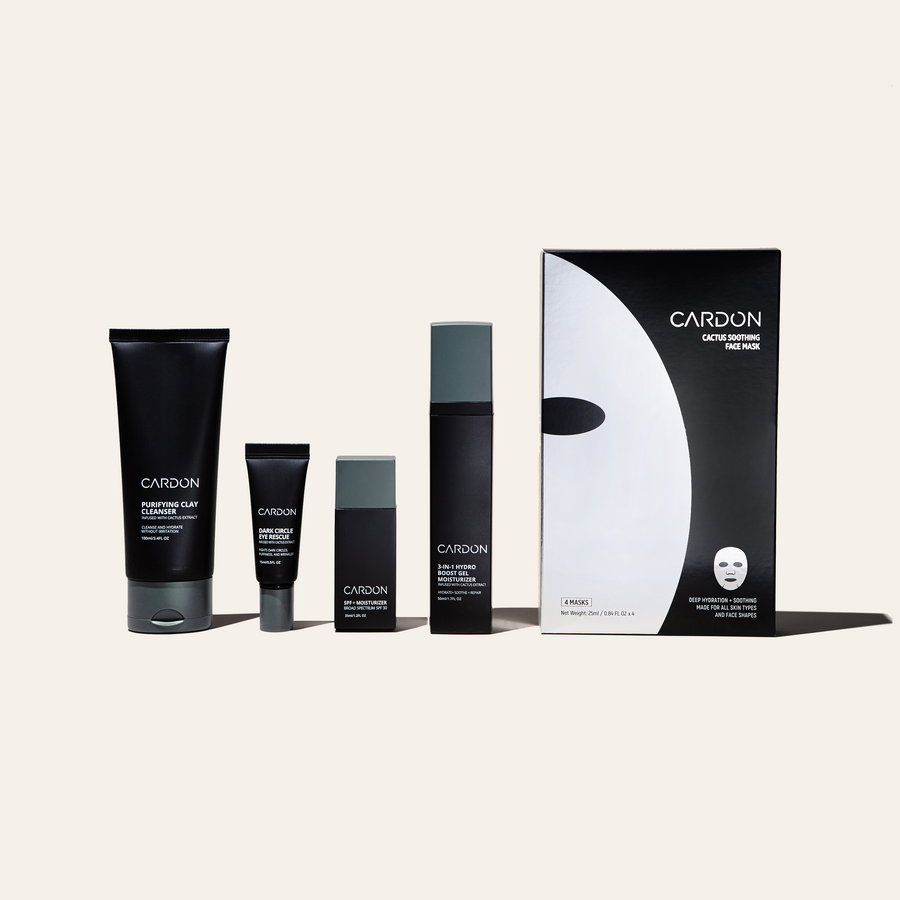
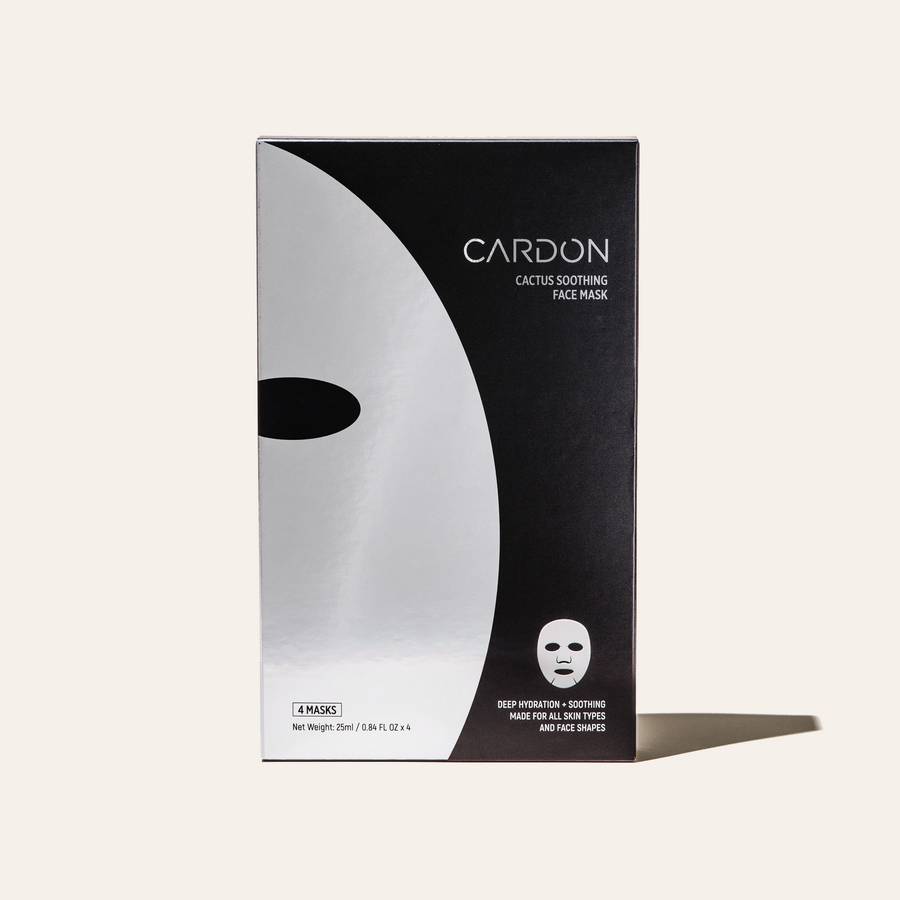
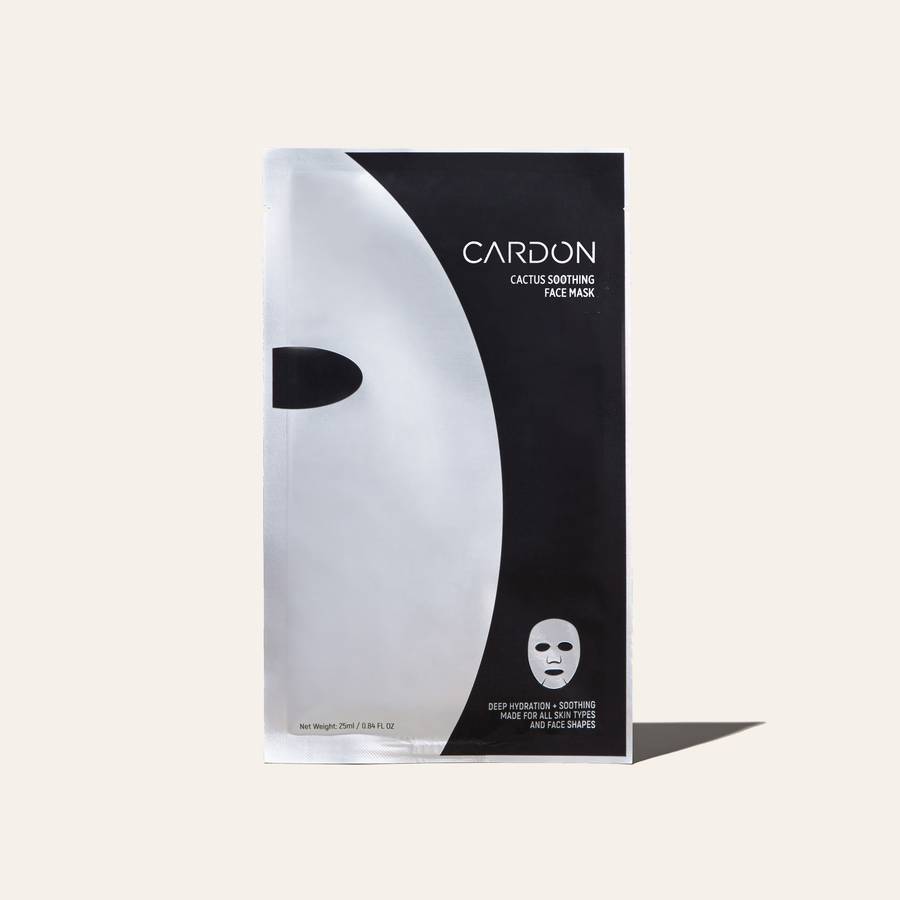
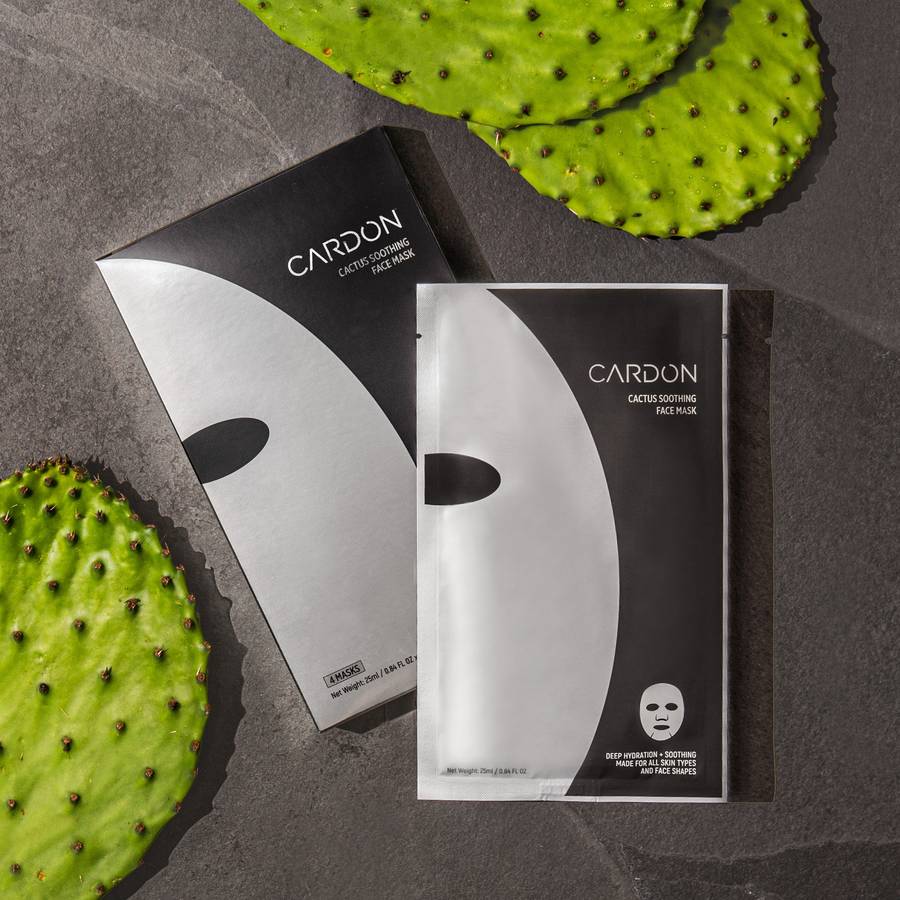
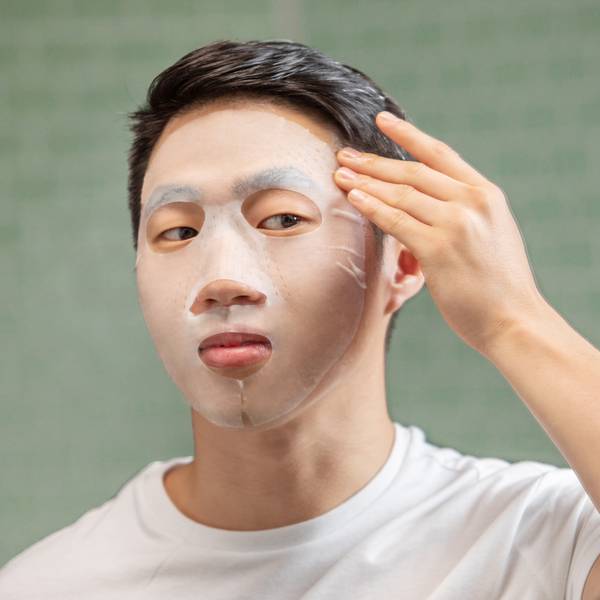
Cactus Soothing Face Mask
good for:
Everyone deserves some self-care time—may we recommend Cactus Soothing Face Mask and chill?
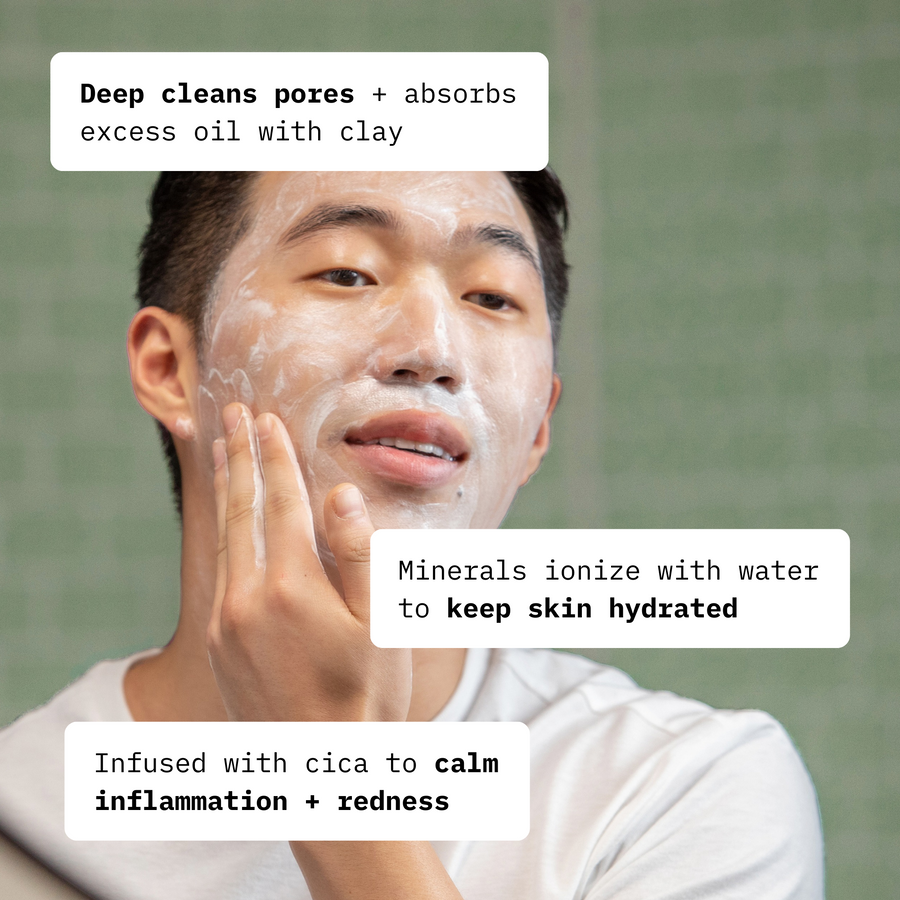
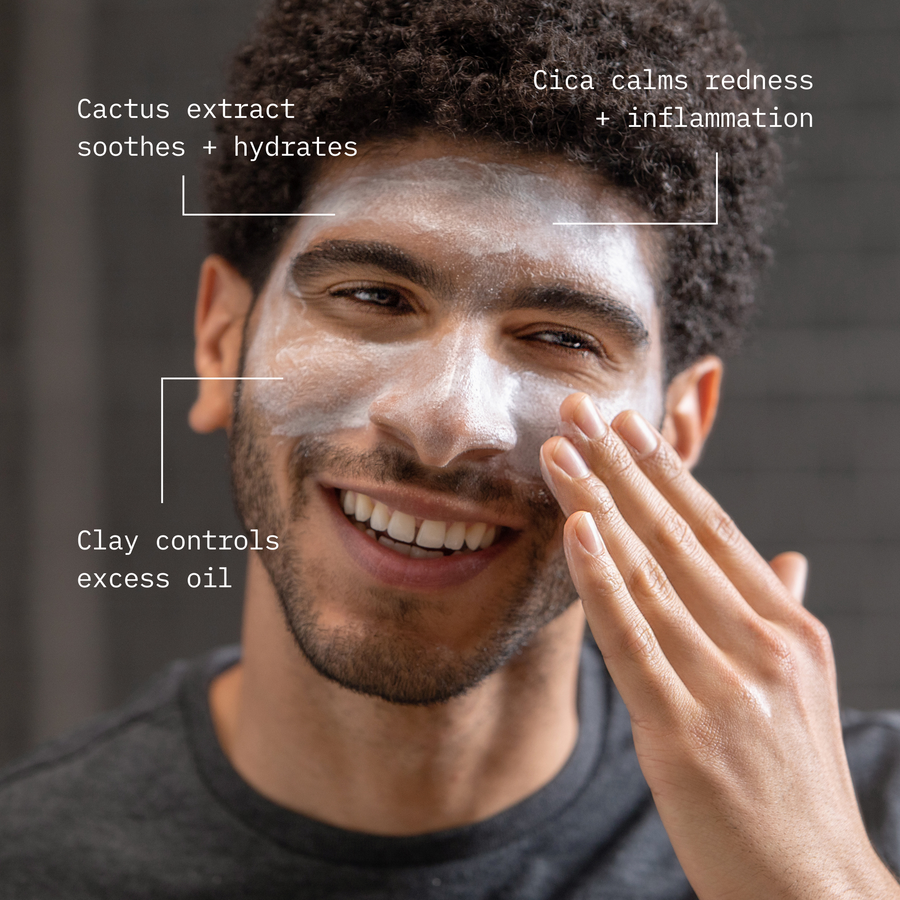
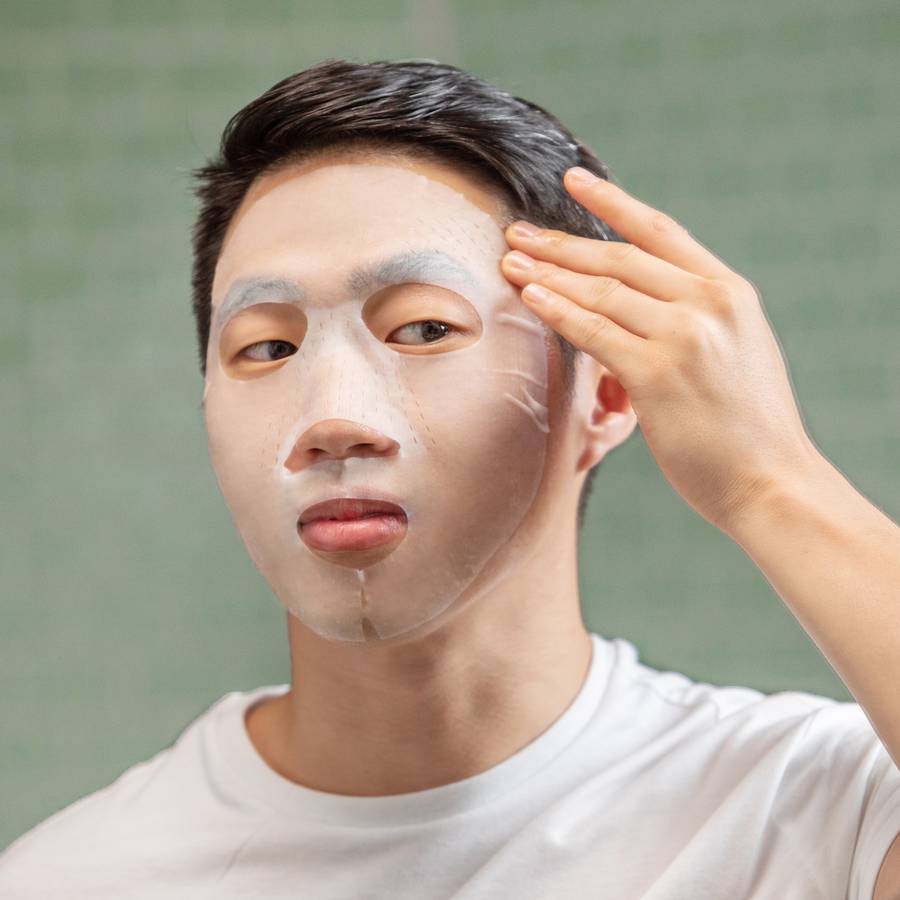
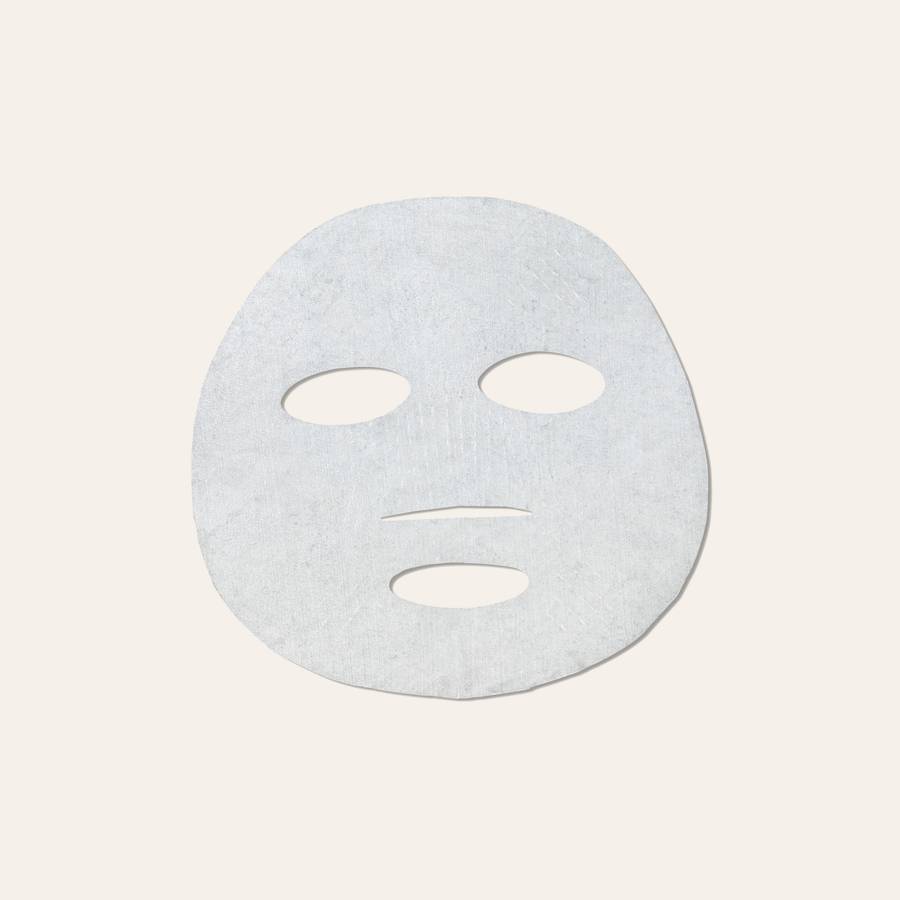
This immediate hydration boost is supercharged with healing ingredients like Cactus Extract and Cica to soothe redness and irritation while reducing fine lines. Perfect for a post-shave treatment or whenever you need a moment for you.
“Stress and late nights working have left my skin looking a bit rough, but this mask was perfect for some at-home spa relaxation. My skin definitely looks a lot more moisturized and refreshed.” - Melody C.
GIFT
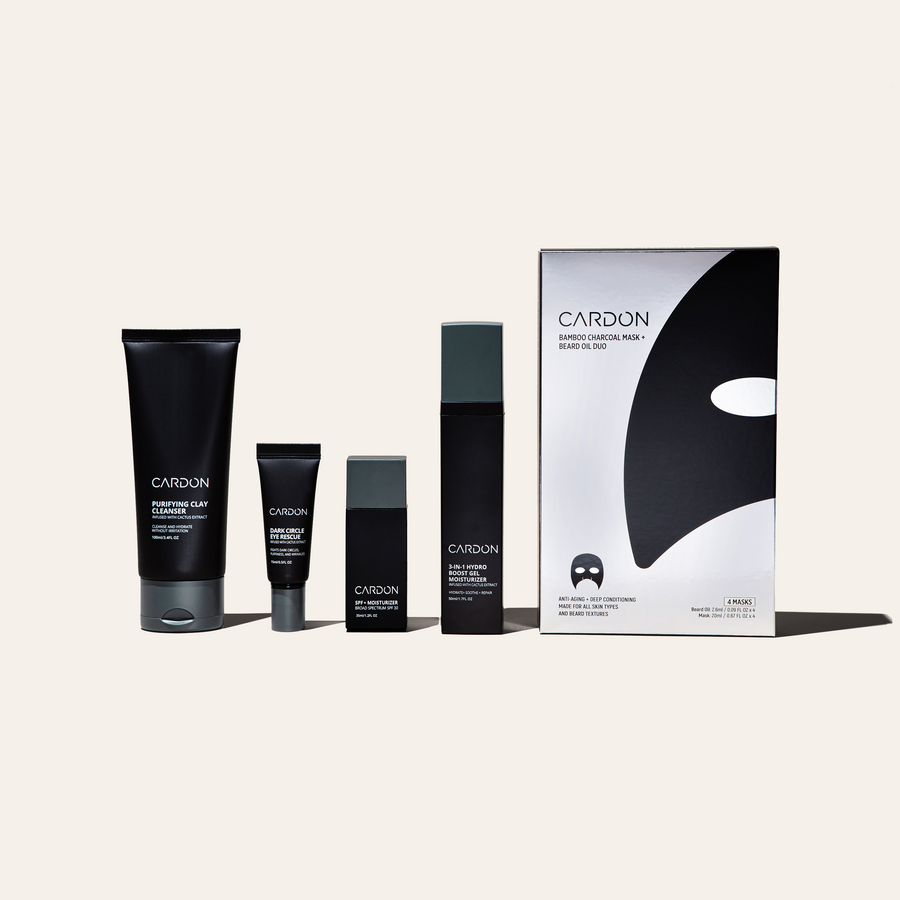
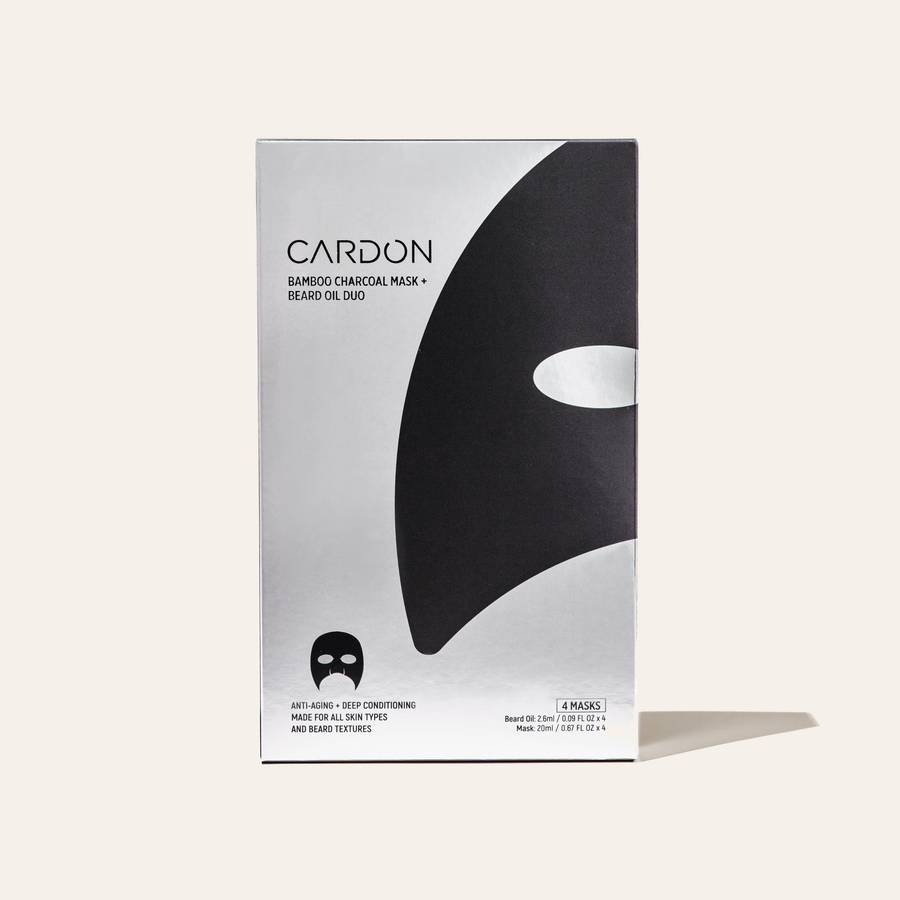
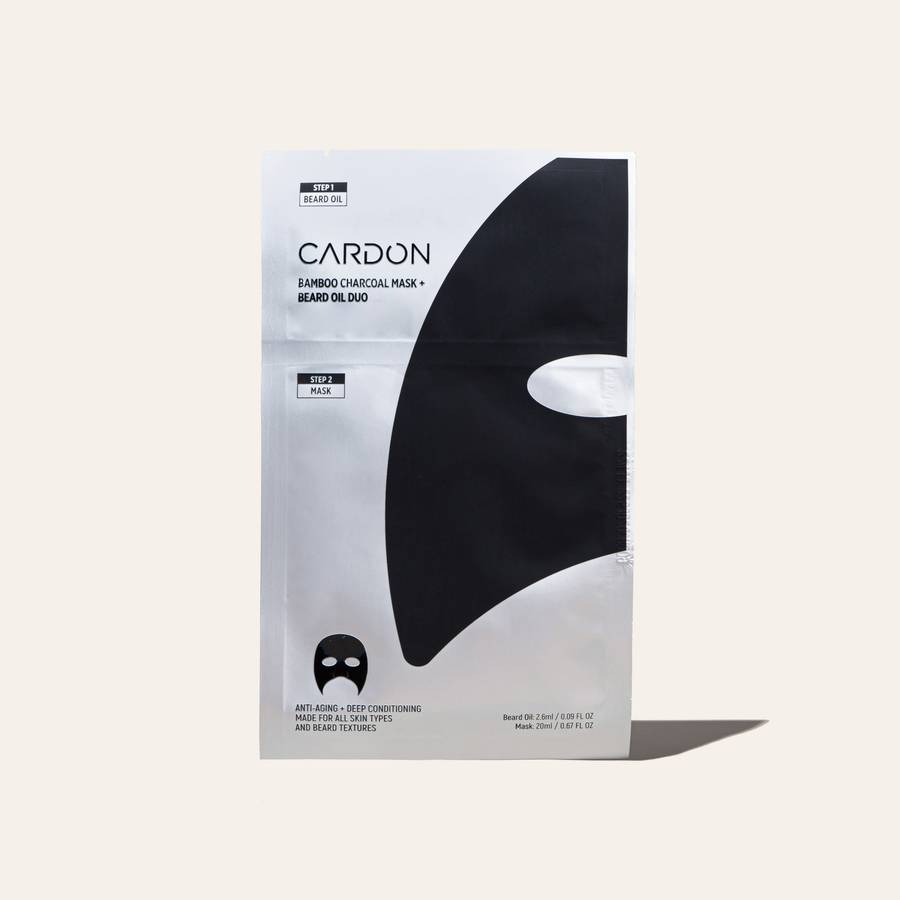
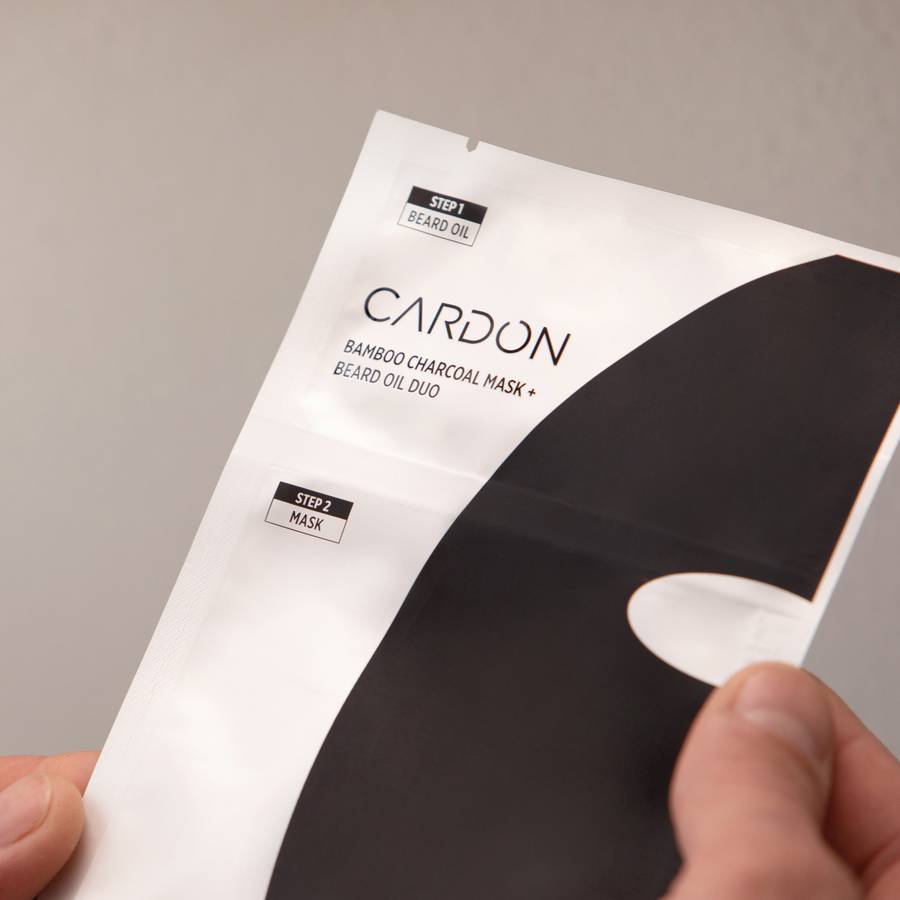
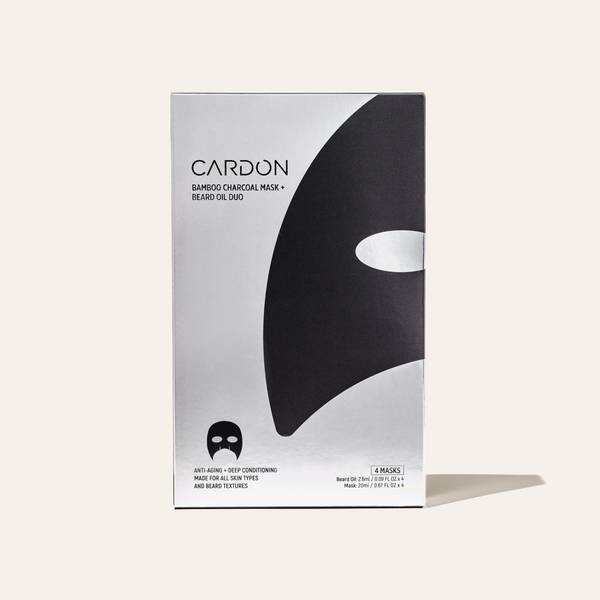
Bamboo Charcoal Sheet Mask + Beard Oil
good for:
Often imitated, never duplicated, this innovative sheet mask is the first of its kind and an Ask Men Grooming award winner in the Best Sheet Mask category!
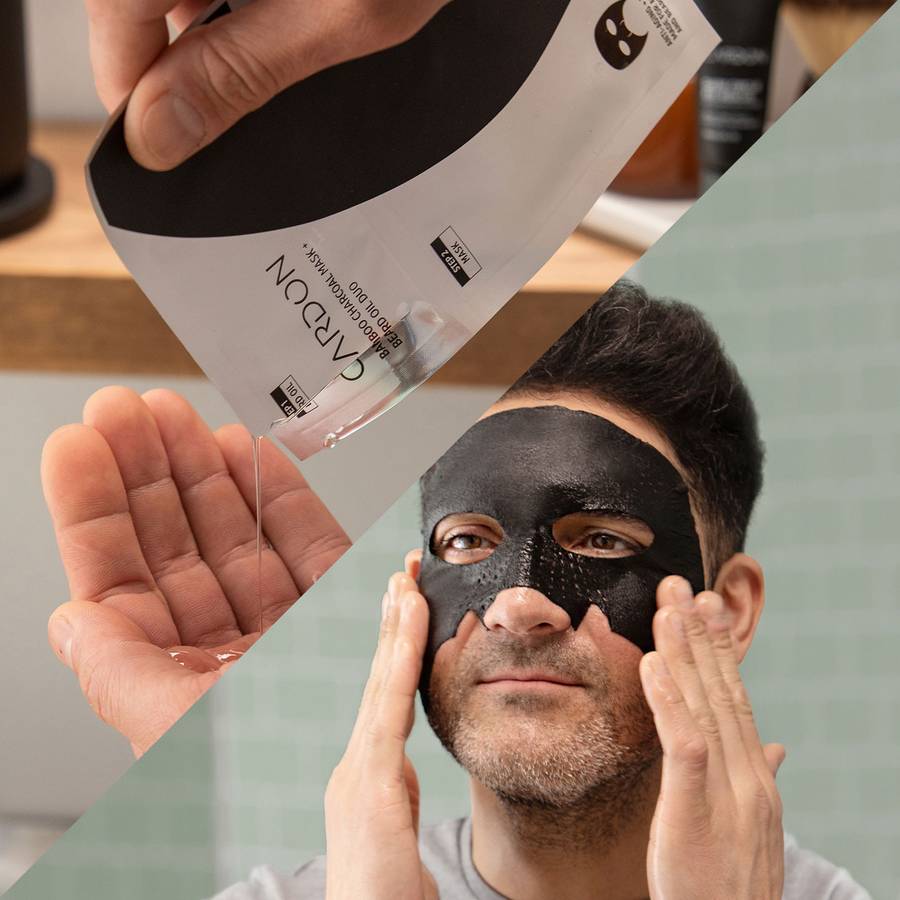
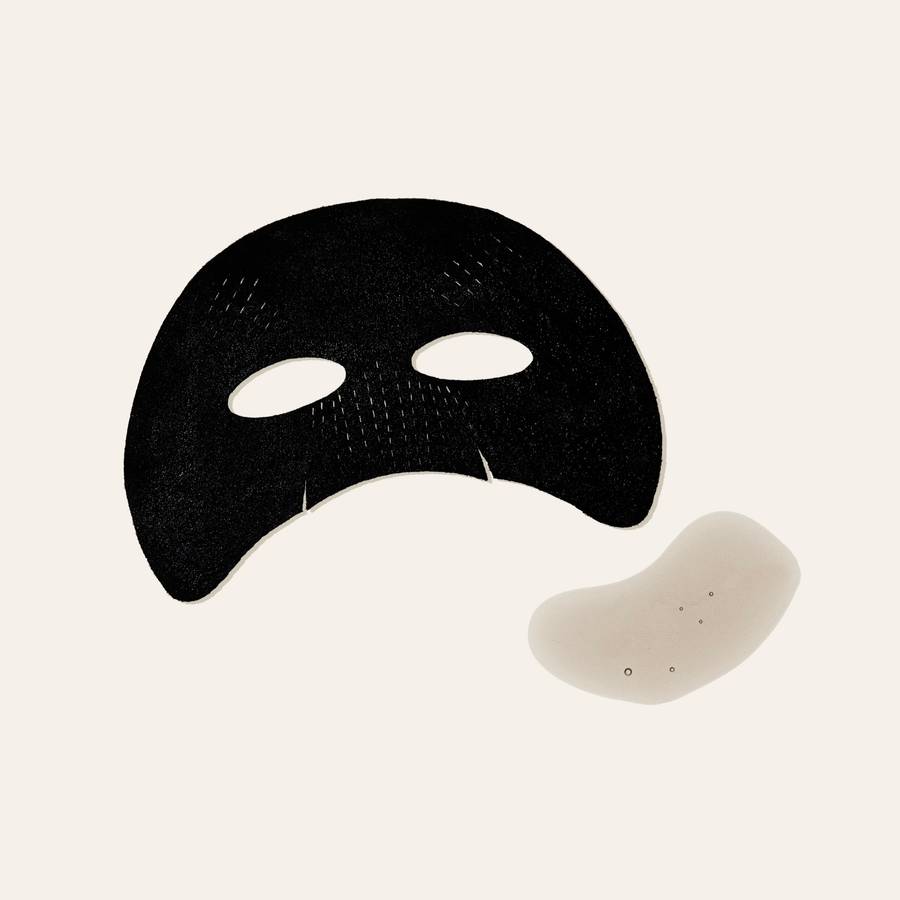
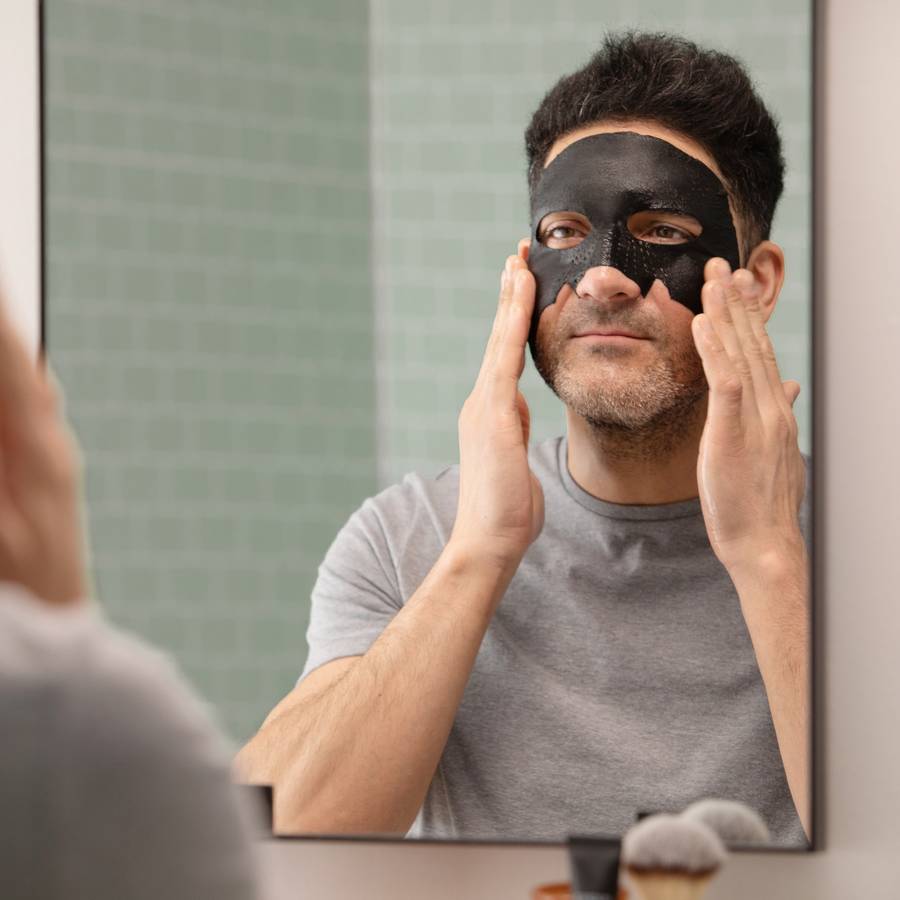
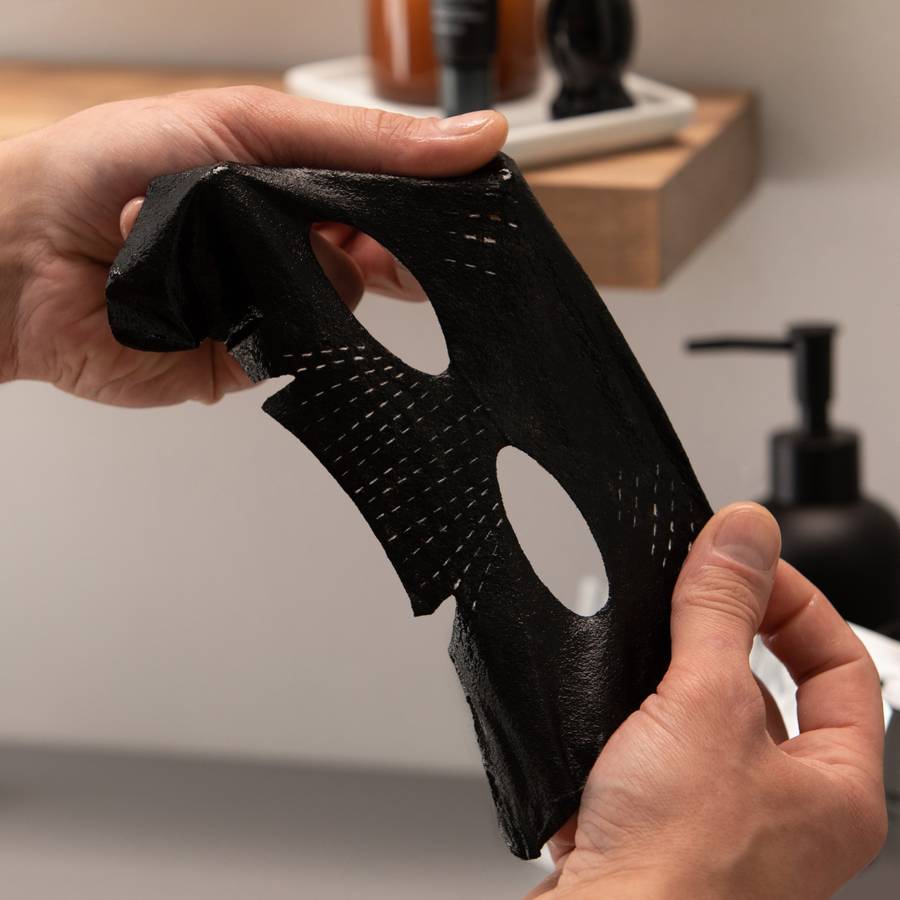
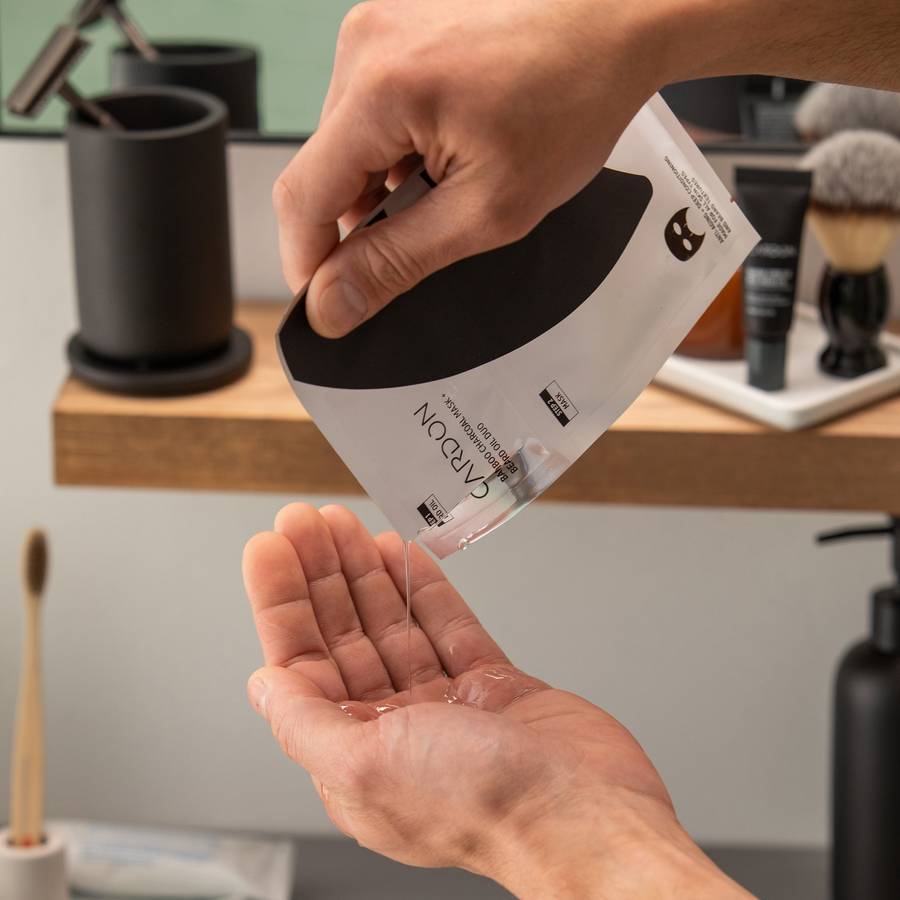
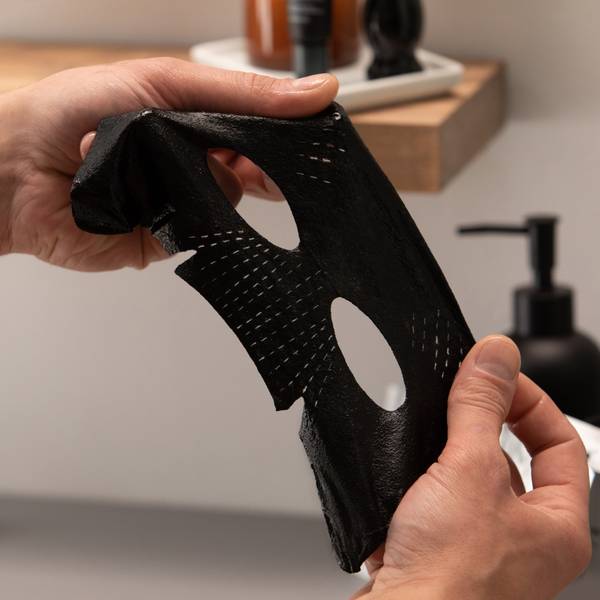
Half mask, half beard treatment, the Bamboo Charcoal Sheet Mask + Beard Oil gives each section of skin (and beard) just what it needs: A detoxifying, hydrating charcoal-infused mask for your skin and a nourishing beard oil blend for the ultimate beard care. Plus, the mask is designed with expandable nose slits to fit any face size and shape.
"I really enjoyed this face mask from Cardon. The beard oil applies easily and the half mask for your cheeks, nose, and forehead fits well and stays in place. My skin looks and feels great after removing the mask. Well done, Cardon!” - Tyler S.
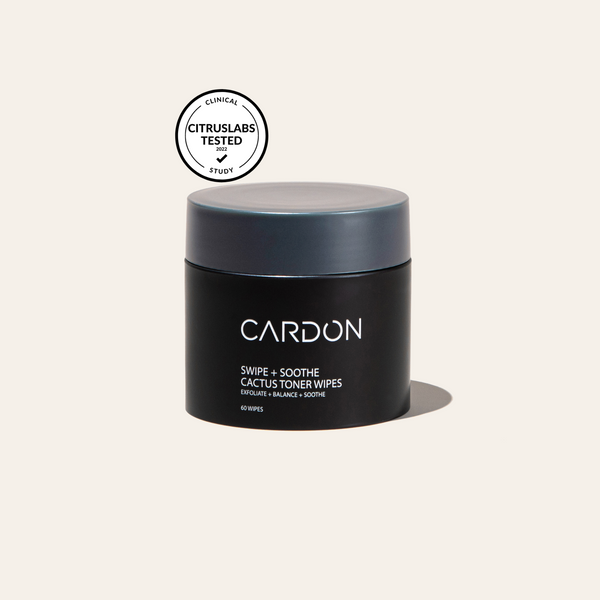
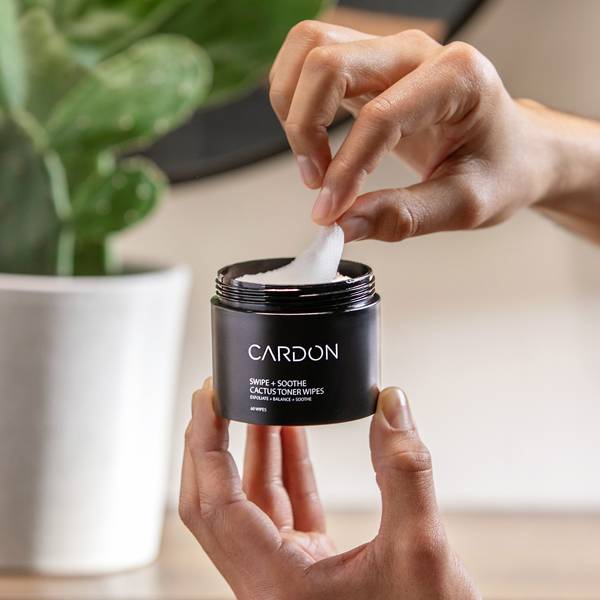
Exfoliating Facial Toner Wipes
good for:
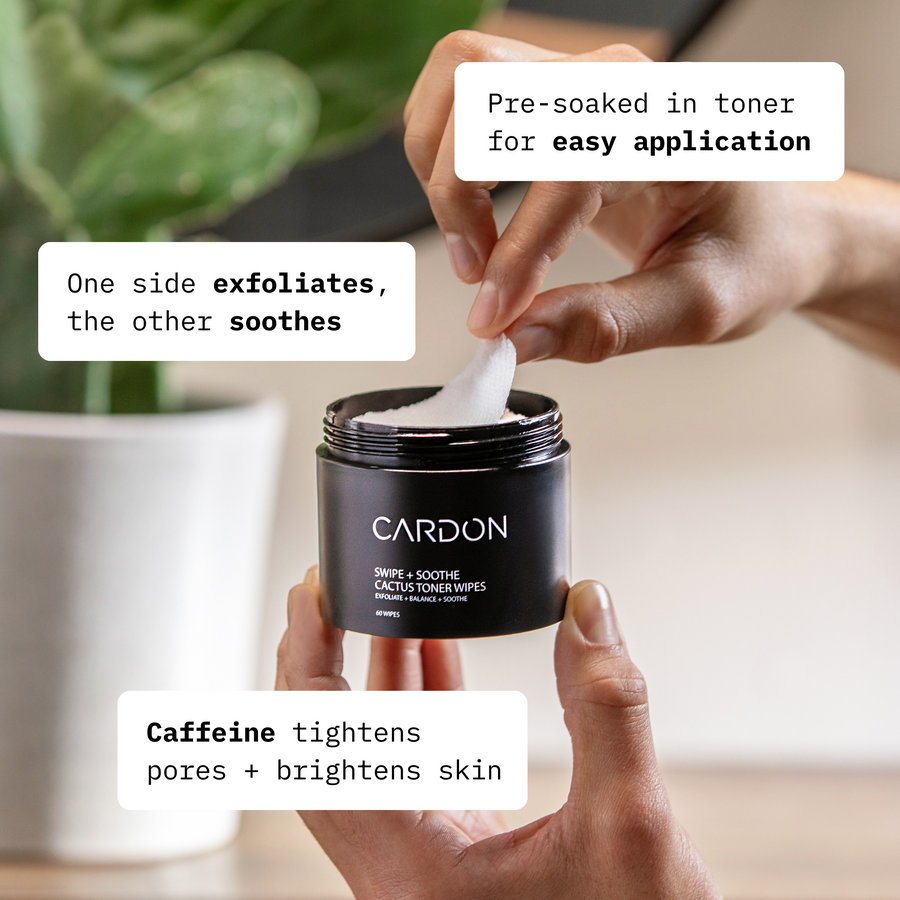
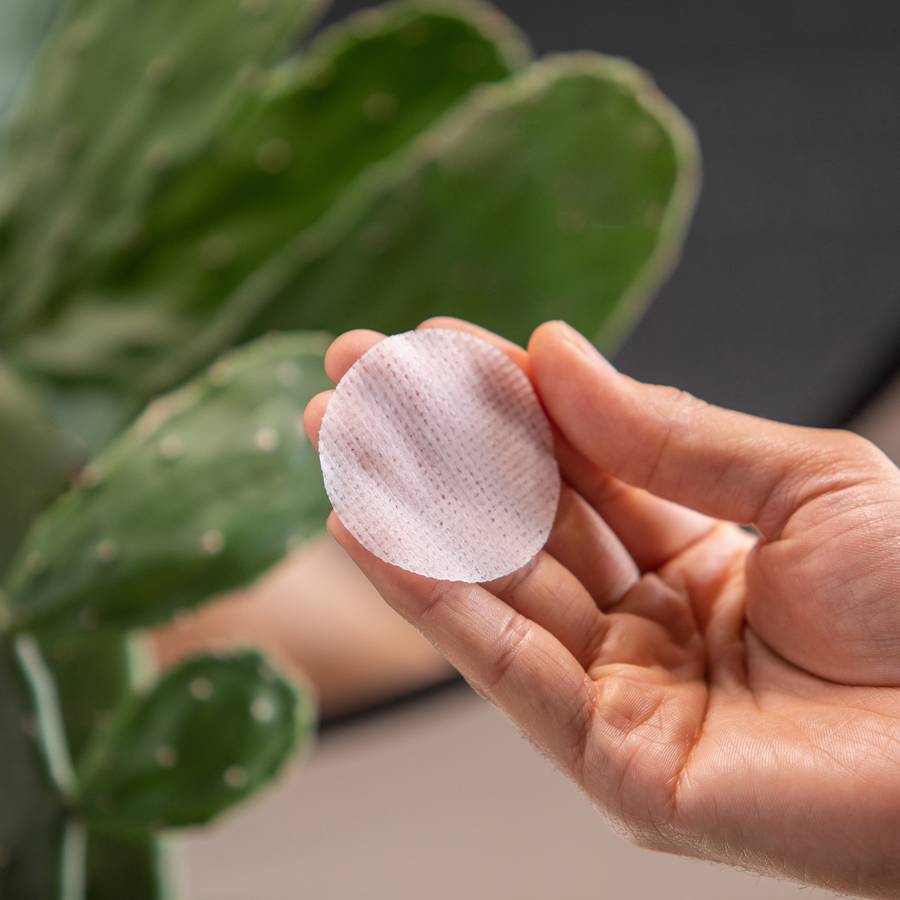
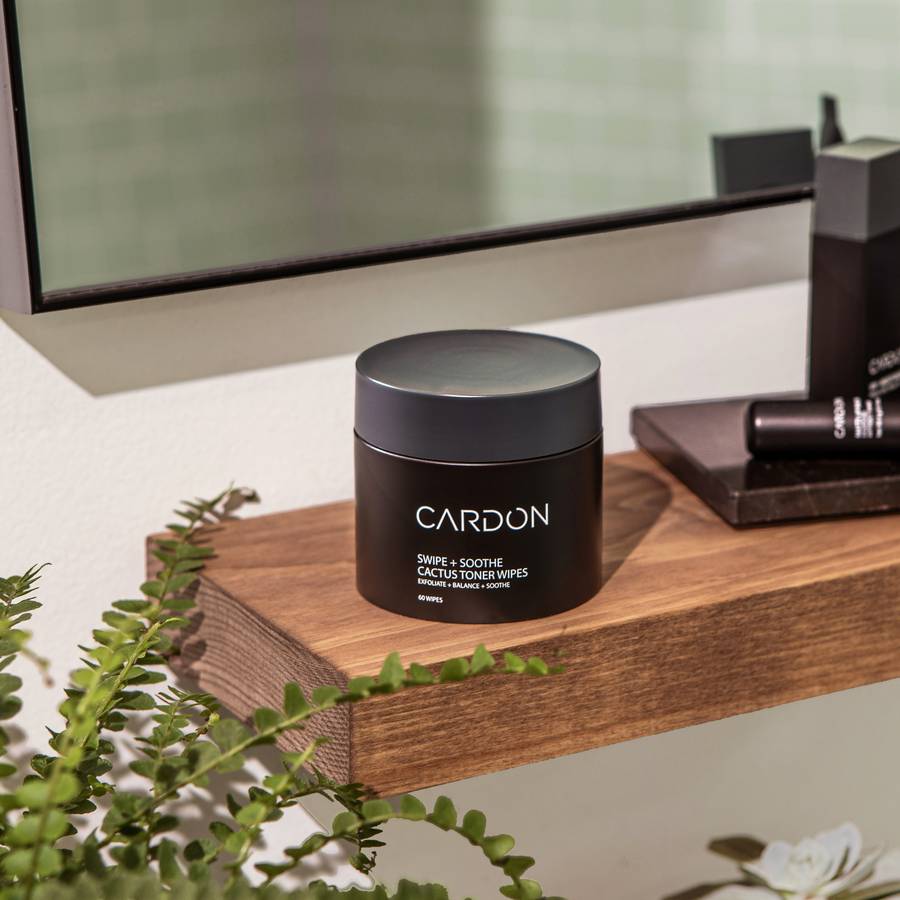
After a long, busy day you just want to sit back, relax, and crack open—our biodegradable Exfoliating Facial Toner Wipes.
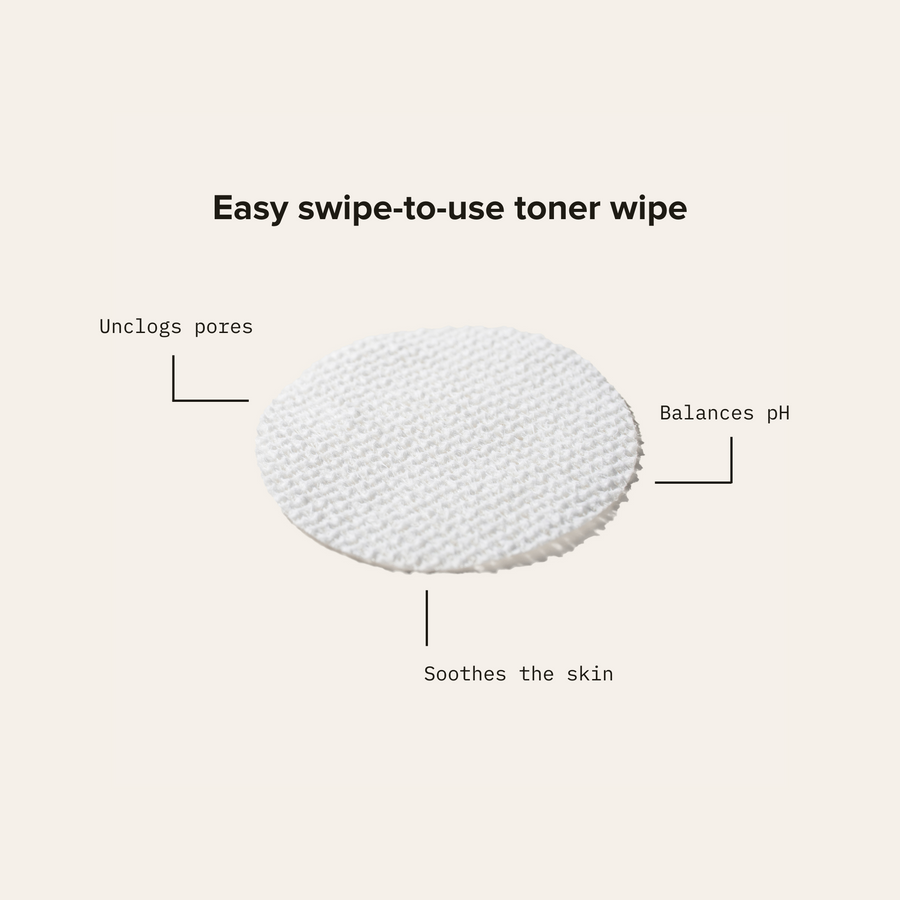
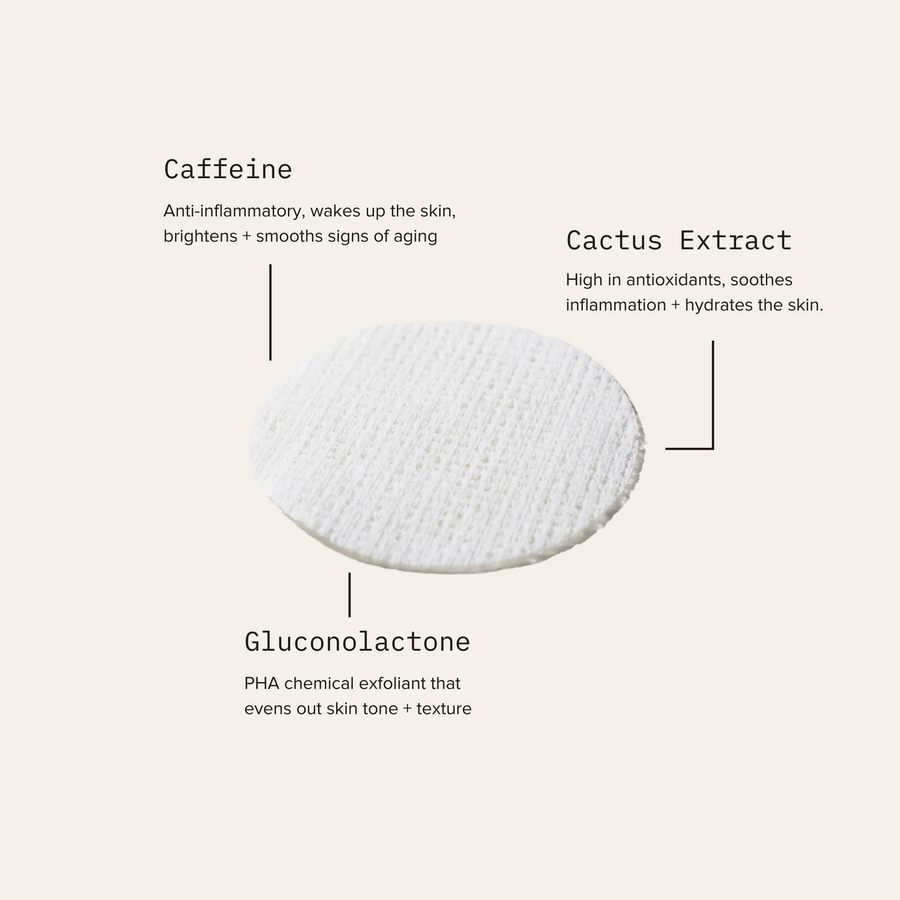
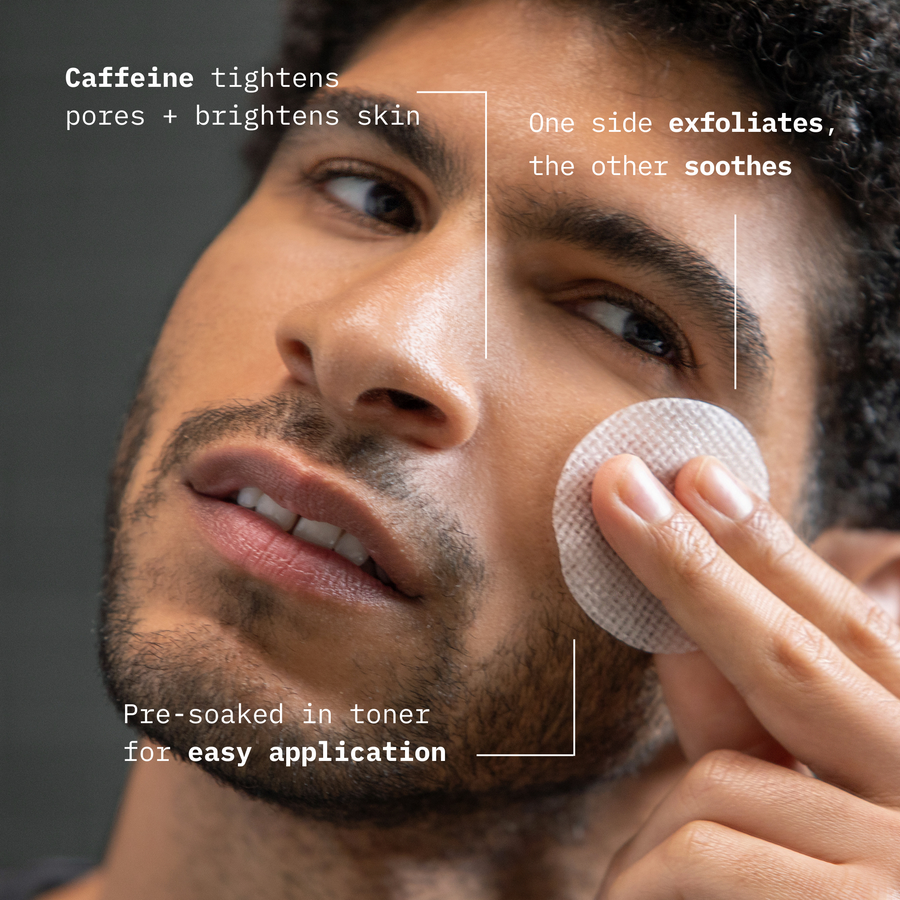
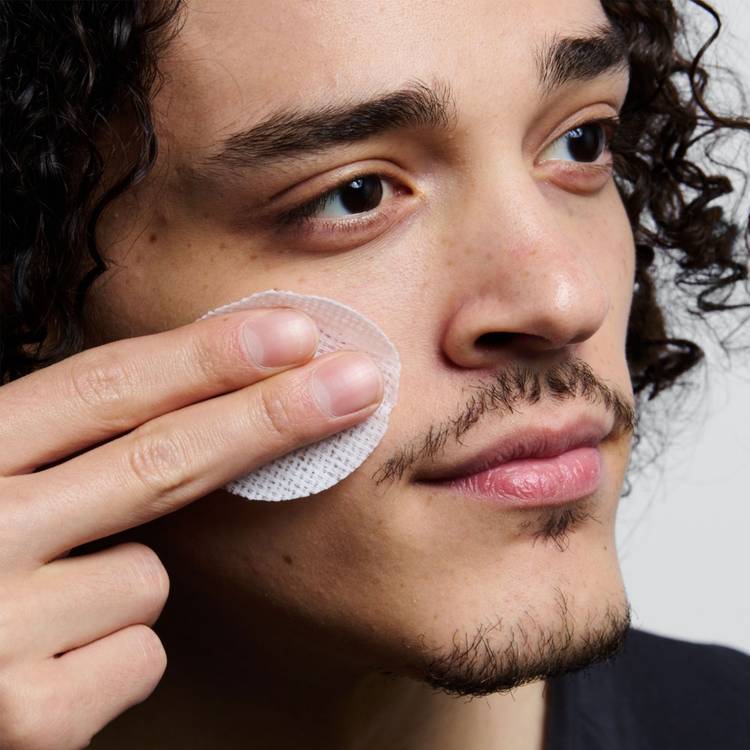
Wipe the stress and grime away with our Exfoliating Facial Toner Wipes, which use PHAs and caffeine to unclog pores, balance pH, and soothe the skin all in one easy step. No water needed.
Due to demand, this product is temporarily out of stock. Click "Notify Me" below to be the first to know when it's back!
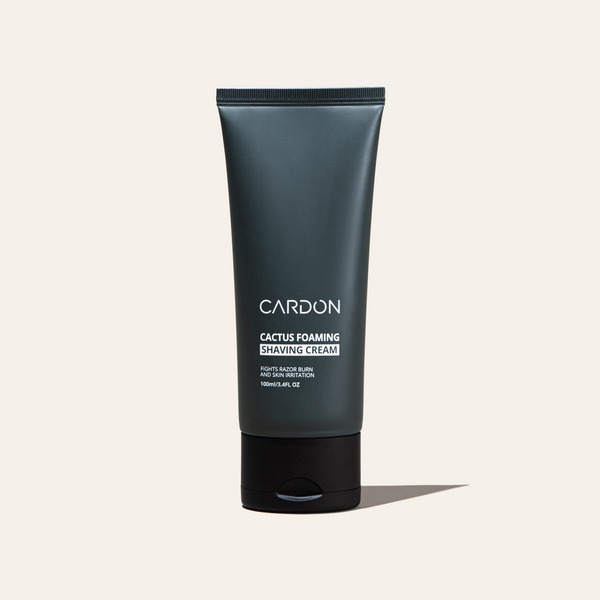
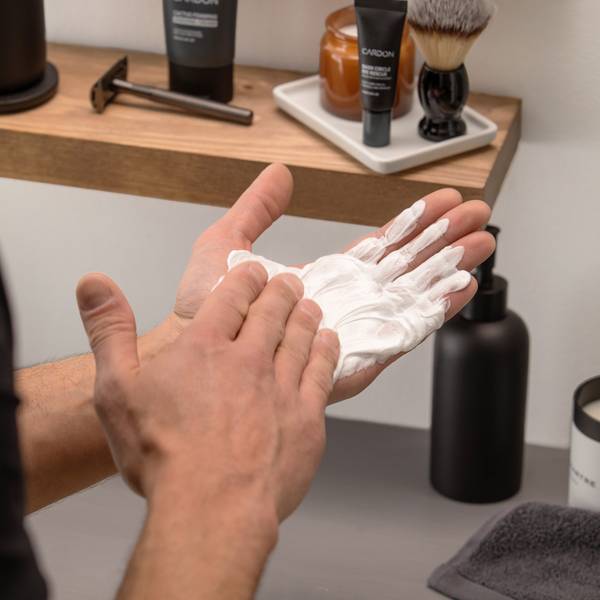
Cactus Foaming Shaving Cream
good for:
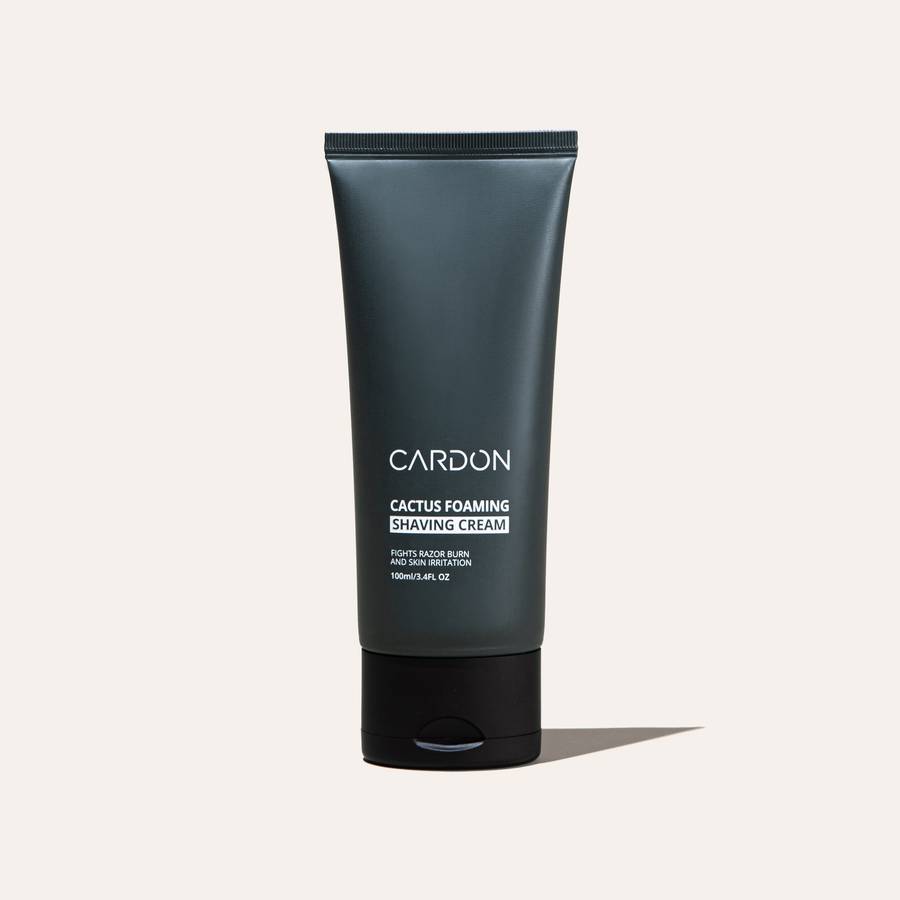
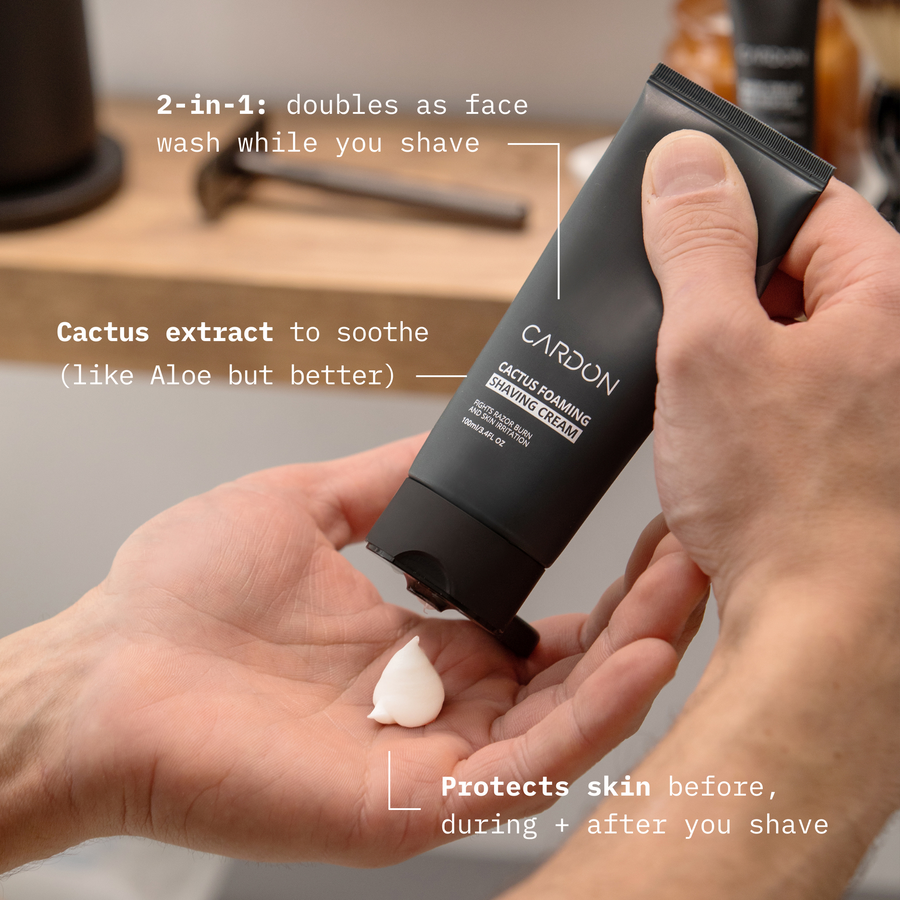
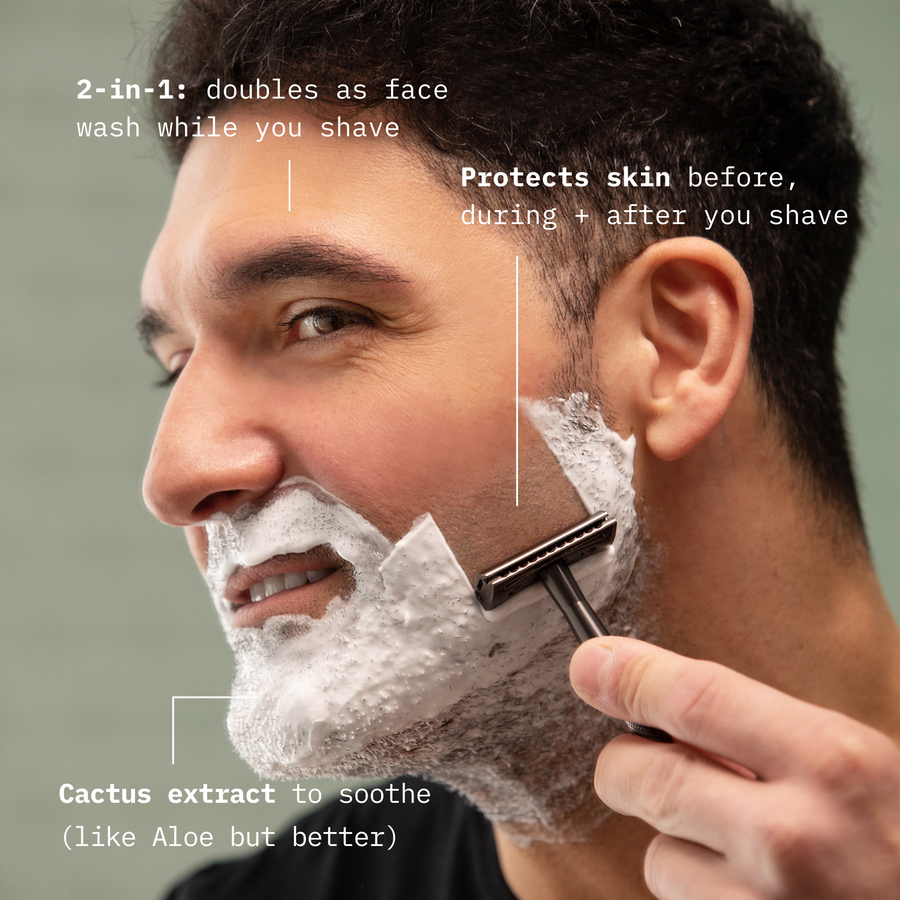
This bathroom cabinet staple is a cut above the rest. The Cactus Foaming Shaving Cream for men delivers a close, comfortable shave every time—without having to worry about nicks, razor burns, irritation, and ingrowns.
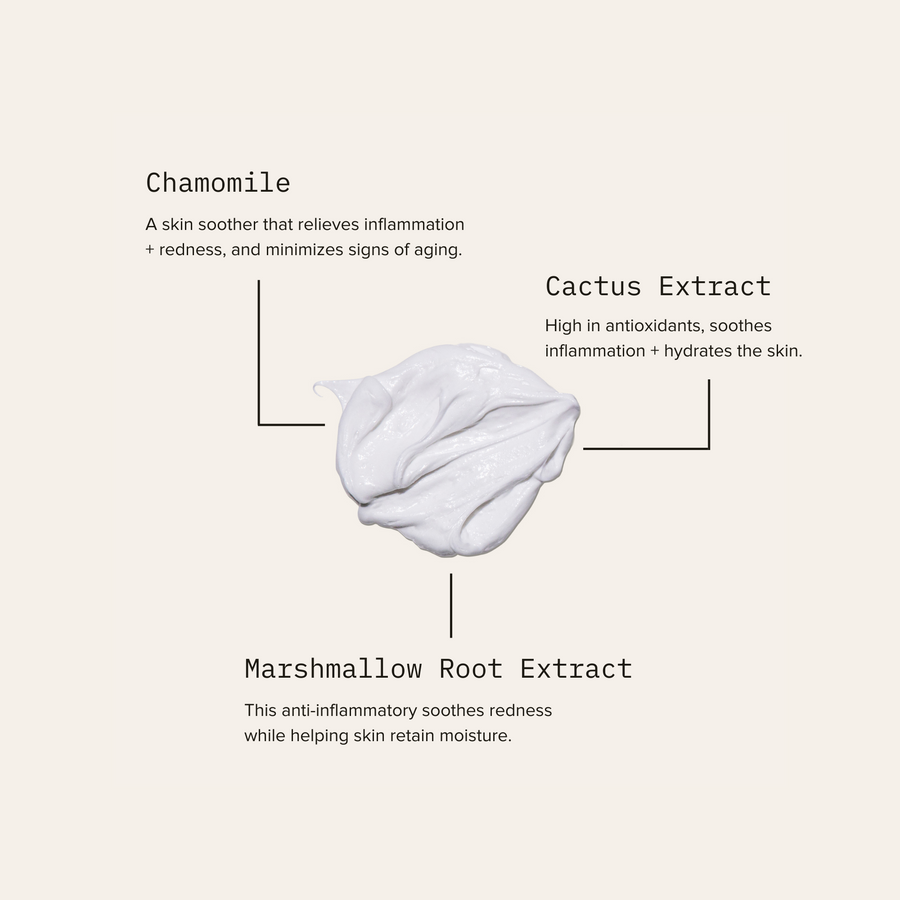
Our rich foam uses Cactus Extract and Chamomile to create a cushion-like layer to soothe the skin. Plus, you’ll shave some time since this also doubles as a face cleanser.
Due to demand, this product is temporarily out of stock. Click "Notify Me" below to be the first to know when it's back!
Cardon Products Are
Easy to Use
We never create two products when we can achieve the same results with one. Cardon products are designed to be easy to use every day.
Backed By Korean Innovation
Korean R&D is two decades ahead of the rest of the world. Cardon products use the highest quality, most effective ingredients out there.
Non-Toxic
Finally, an ingredient label you can feel good about. Every ingredient in Cardon products is good for your skin, and easy on the mind.
